
Introduction
Self-portrait photography refers to the process of capturing an image of yourself.
In contrast to photos taken by someone else, in self-portrait photography, you are photographer and model at the same time.
Self portrait photography is an amazing tool for personal expression and self-reflection and actually has a rich history in art.
Long before the invention of photography, artists like Rembrandt and Frida Kahlo painted themselves, using self-portraiture to convey their emotions, personal experiences or symbolic messages.
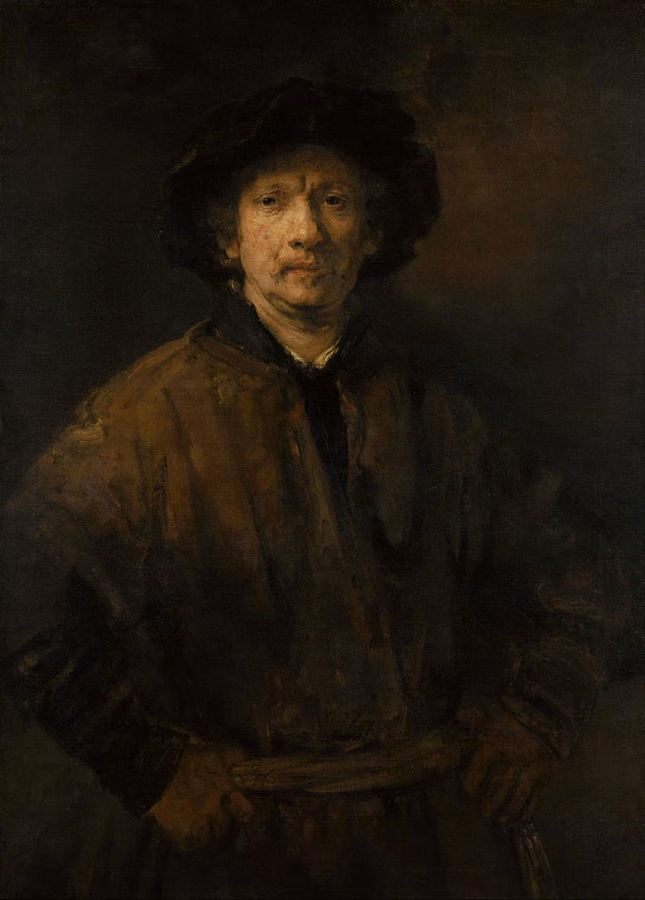
There are also a lot of well-known photographers who’ve become famous for their self portraits, like Robert Mapplethorpe, Cindy Sherman or Vivian Meier.
By the way, a lot of people use the terms “selfie” and “self portrait” interchangeably, but they are in fact quite different things:
A selfie is typically spontaneous, often taken quickly with a smartphone, and usually meant for social media or sharing with friends.
In contrast, a self-portrait is more deliberate, with a thoughtfully considered composition, lighting and pose.
Hence, a self-portrait requires planning and has more depth and meaning than a simple selfie.
What I personally love about self-portrait photography is the creative freedom it offers.
As the model and photographer, you can control every element, from the angle and lighting to the mood and message of the image, giving you the ability to tell personal stories in a visual way.
However, self portrait photography can also be very challenging, primarily because you can’t be behind and in front of the camera at the same time, making it harder to control the settings and focus the lens.
This guide will walk you through the essentials of self portrait photography, from choosing the right equipment to understanding lighting, composition and post-processing.
I’ll also cover common challenges that arise when photographing yourself and share tips for overcoming them.
By the way…you can also check out my recent YouTube video with lots of self portrait photography tips, which you’ll find here:
…but now, back to the blog post!
2) Essential Equipment for Self-Portrait Photography
Having the right equipment will be extremely helpful when it comes to creating beautiful self-portraits
Let’s talk about the essential gear you’ll need for self-portrait photography.
Camera
When choosing a camera for self-portraits, you have a few options: DSLR, mirrorless, or smartphone cameras.
DSLR (Digital Single-Lens Reflex) cameras are known for their superior image quality and extensive range of lenses.
However, they tend to be bulky and expensive, which may not be ideal for beginners.
Mirrorless cameras are a more compact alternative while offering similar image quality.
They are actually becoming more and more popular – in fact, DSLR cameras are being phased out by most brands now because so many people favour mirrorless cameras.
I used to own a DSLR and have now switched to mirrorless. I personally love my mirrorless camera because the autofocus is amazing, and it’s very light.
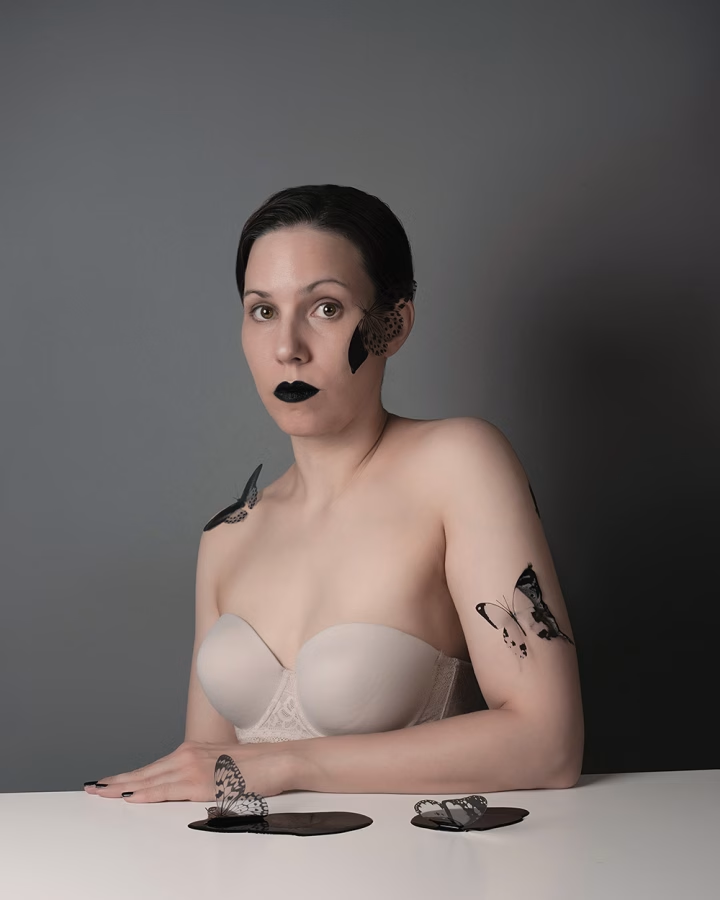
If you want to invest in a camera for your self portrait photography, check out my recent post on the best self-portrait photography cameras 2024.
By the way: If you only have a phone camera available, don’t worry!
Smartphone cameras, especially the latest models, have a lot of features and will totally do the job.
They may not offer the control of professional cameras, but they will still give you great image quality and beautiful results.
Tripods and Mounts
If you only get one accessory for your camera, make it a tripod.
This handy tool allows you to set your camera at the perfect height and angle, ensuring consistency in your shots.
Lightweight, portable tripods are good for indoor and outdoor shoots, while sturdier tripods are better for handling heavier DSLR or mirrorless cameras.
If you’re using a smartphone, make sure the tripod has an adjustable mount to securely hold your phone.
Flexible tripods like the GorillaPod are excellent for uneven surfaces or more creative angles.
Remote Shutter Release/Timers
A remote shutter release is a game-changer for self-portrait photography because it allows you to trigger the shutter without physically touching the camera, reducing the risk of movement or blur.
Alternatively, most cameras and smartphones have built-in timers, which can be a simple and effective option if you don’t have a remote.
However, my favourite option for taking self portraits is using an app connected to your phone – most camera brands will offer this, just make sure that the camera has Wi-Fi/Bluetooth compatibility.
Lighting Equipment
The right lighting is so important for your self-portrait!
Natural light is often the best option for beginners, as it’s soft and flattering, especially during the golden hour.
However, artificial lighting gives you more creative control and lighting options.
A simple ring light or softbox can create professional-looking results by eliminating harsh shadows and providing even, flattering light.
You could also use a reflector to bounce light onto your face and soften shadows.
If you need help with artificial lighting, check out my post here which covers the subject in depth, or watch my YouTube video below:
Lenses
Choosing the right lens depends on the look you want to achieve.
A wide-angle lens can capture more of the environment, but it can sometimes distort facial features. I often use a 35mm lens when I want to include a bit of the environment and create a cinematic look.
Another favourite of mine is the 50mm prime lens as it produces sharp images with beautiful background blur.
By the way…do you need inspiration for your self portraits? Then check out my free ebook below:
Free Ebook-50 Self Portrait Photography Ideas
Do you love self-portrait photography, but lack inspiration for your shoots? Then download my e-book with 50 ideas for self-portrait photography!

…but now, back to the blog post!
3) Preparing for the Perfect Self-Portrait
When it comes to self portrait photography, I highly recommend you take some time planning your shoot.
This will greatly improve the image quality and give your images more meaning and depth.
Here are the key steps involved in preparing for the perfect self-portrait:
Conceptualising the Shot
It’s extremely useful to spend some time conceptualizing your self-portrait before you actually pick up the camera.
Here are some helpful questions:
What story do you want to tell with this image?
Are you aiming for something dramatic, playful, or introspective?
Do you want to convey a specific emotion or maybe experiment with a particular style?
Once you have a theme or concept in mind, try to decide on the mood of the image.
Dark, moody lighting, for example, will create a more serious or mysterious tone, while bright, natural light might evoke a sense of joy and happiness.
The key is to be intentional about your stylistic decisions – the clearer your vision, the easier the execution.
Choosing the Right Location
The location of your self-portrait plays an important role when it comes to realising your concept.
Indoor or outdoor settings each have their own advantages and disadvantages.
Indoors, you have greater control over lighting and background elements, but you’ll need to make sure your space is free of clutter or distractions.
Depending on your space, you can use blank walls, furniture or even windows as interesting backgrounds.
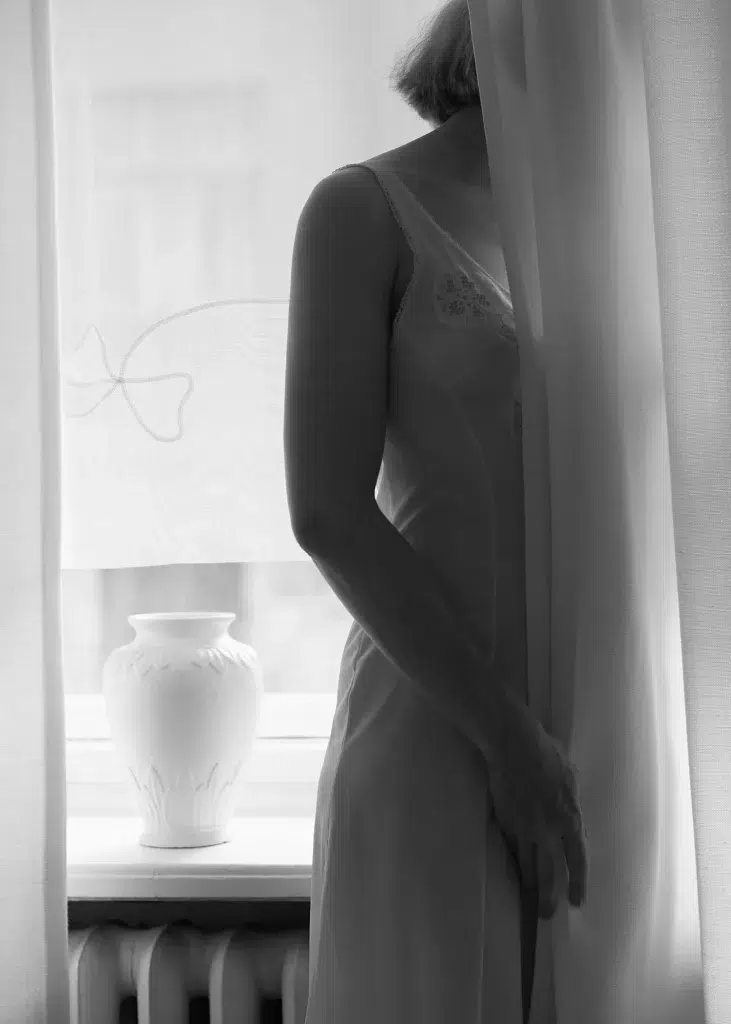
Outdoor settings offer natural light and all kinds of beautiful environments, but you are dependent on factors like weather, daylight and background activity.
If you’re shooting outdoors, choose a location that aligns with your theme, for example an open field to portray freedom.
Clothes and Make-up
Your clothes, make-up and styling choices are super important when it comes to the overall aesthetic of the self-portrait because they all contribute to the narrative of your image.
For example, flowing fabrics can add a sense of movement, while structured outfits can create more strength or drama.
If you’re going for a minimalistic self-portrait, choose simple and neutral clothing in order to put the focus on your expression and body language.
On the other hand, a more extravagant look with bold colours, patterns or unique accessories can make the image more visually striking and tell a specific story.
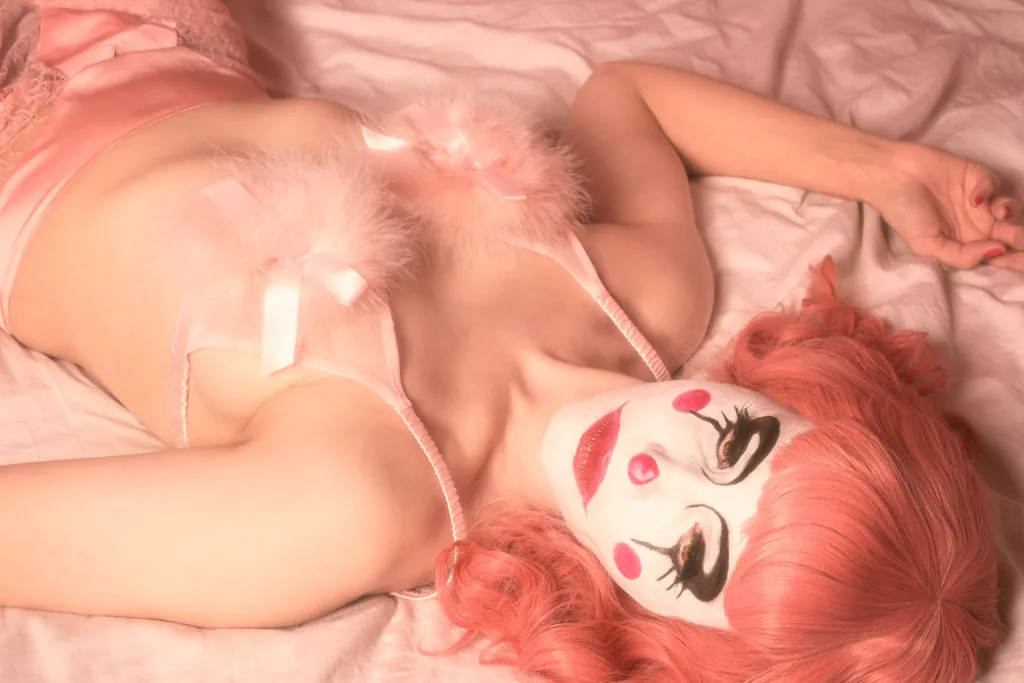
By the way, always pay attention to how your wardrobe interacts with your environment and lighting – neutral tones work well in bright, open spaces, while bold outfits can stand out in a muted or monochromatic environment.
Lighting Setup
Lighting is one of the most important aspects of photography – naturally, this also goes for self-portraits.
Whether you’re using natural light or studio lighting, understanding how to manipulate light will dramatically improve your shots.
Natural light is often the most flattering choice, especially during golden hour (just after sunrise or before sunset), when the light is soft and warm.
Window light can also create beautiful effects indoors, providing soft, even lighting or dramatic shadows, depending on its direction and intensity.
If you’re working with artificial light, a basic studio setup might involve a softbox or ring light to diffuse harsh shadows and create a more even look.
Experiment with positioning your light source at different angles – front lighting is generally more flattering, while side lighting adds drama and makes you appear more three-dimensional.
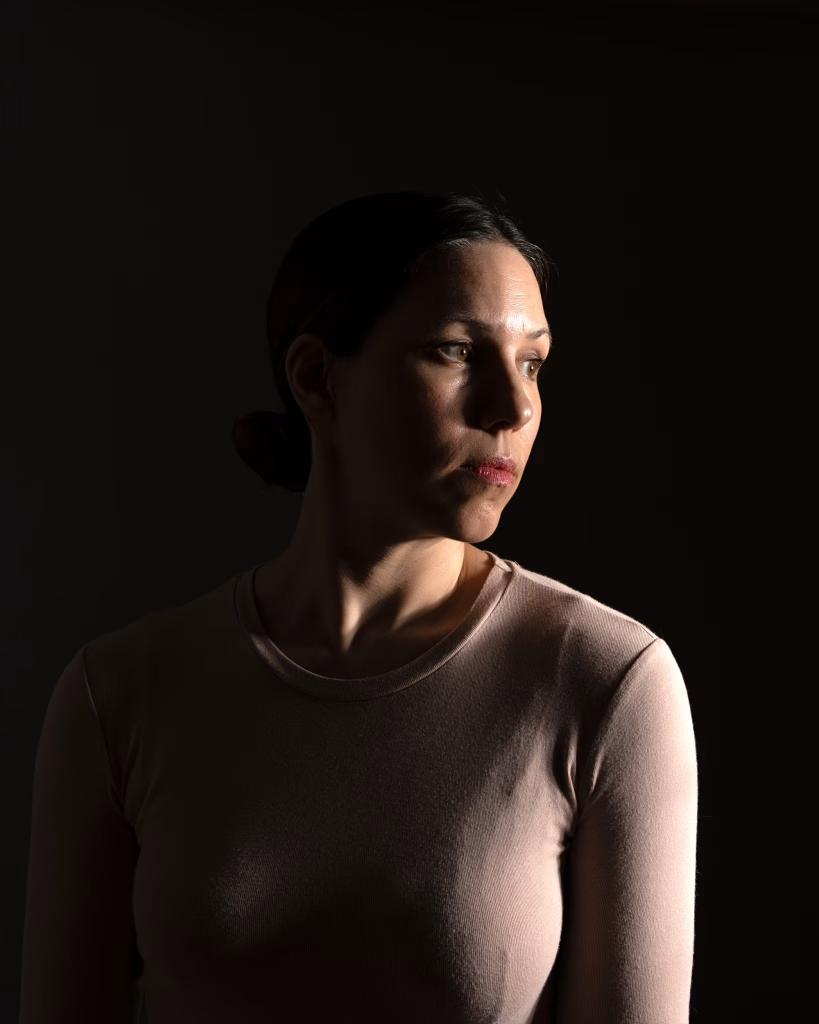
If you need some help with artificial lighting, check out my blog post on creating a home studio and/or my crash course in artificial lighting.
Composing the Frame
Composition is another key element in creating a visual interesting self-portrait.
One of the most well-known rules of composition is the rule of thirds, which involves dividing your frame into a 3×3 grid and placing your subject along the lines or intersections.

This creates a more dynamic and visually appealing composition than centering yourself directly in the frame.
You can also experiment with other compositional techniques like leading lines, which guide the viewer’s eye toward the subject, or symmetry, which can create a sense of balance and harmony.
I also like playing with negative space – sometimes, leaving space in the frame can emphasise the subject or add depth to the image.
Also try different angles and perspectives, such as shooting from above or below, for more creative self portraits.
4) Shooting Techniques for Beginners
When I first started taking self portraits, I found the technical aspects really challenging, like for example how to focus on myself or how to take the shot remotely.
Here are my best tips for actually shooting your self-portrait.
Setting Up
When setting up your camera, try positioning it at eye level or slightly above, depending on the angle you’re aiming for.
Use a sturdy tripod to keep your camera steady and experiment with different angles to find the most flattering one.
The height and tilt of the camera have a huge impact on the look of the image, so you may have to keep adjusting it to get the desired result.
Framing yourself in the Scene
Once your camera is positioned, make sure you’re framed properly within the shot.
You can always use a mirror to check your position and pose before taking the photo.
Some other ways to do this is to use a camera with a vari-angle LCD screen that you can turn to the front.
Or (my favourite method) – use an app connected to your camera which will show you the composition on the phone screen.
Focusing Techniques
I think that achieving focus is one of the trickiest parts of taking self portraits because you’re not able to be behind the camera.
If your camera has autofocus, use face-detection or eye-tracking modes to maintain focus on yourself.
Ideally, combine this with a remote shooting app as mentioned above – this allows you to actually tap on the phone screen to set the focus wherever you want it to be.
If you have an older camera without autofocus, you can also use manual focus:
Set focus on a placeholder (like a chair or object) where you plan to stand. Then, manually focus on it, remove the object and stand in exactly the same place.
Using Timers/Remote Shutters
Most cameras have built-in timers that give you a few seconds to get into position before the shot is taken.
Even handier is a remote shutter release that allows you to take shots without rushing back and forth. These are available for cameras as well as for smartphones.
Again, the best option in my opinion is using a phone app connected to your camera, which also acts as remote shutter.
5) Post-Processing Your Self-Portraits
I think that postprocessing is an extremely important part of self-portrait photography because it allows you to correct issues (like for example removing distracting details) and to bring your creative vision to life.
Which Photo Editing Software?
I would recommend that you invest in Adobe Lightroom or Photoshop, simply because it’s the most widely used product family and you can find lots of tutorials for it.
I personally use Photoshop and find it very user-friendly.
If you prefer editing on your phone, try mobile apps like Snapseed (free!), Lightroom Mobile or Photoshop Express.
Common Edits
When editing, you’ll usually want to try and make any kind of adjustment that will improve the image quality.
This may include adjusting the exposure to brighten or darken the image, tweaking the contrast to add depth and/or correcting the colours.
I also usually crop my images to perfect the composition, and I always do some skin retouching.
Creative Edits
For a more artistic approach, you can play with more creative edits such as applying filters or colour grading.
If you’re not sure what colour grading is or how it works, make sure to read this post on the topic.
6) Common Mistakes to Avoid in Self-Portrait Photography
Finally, I wanted to include some common mistakes or challenges that often arise when taking self portraits.
Here are some pitfalls to watch out for and tips on how to avoid them.
Sub-optimal Lighting Choices
Lighting is one of the most important elements of any photograph – bad lighting can truly ruin an otherwise beautiful image.
Harsh, direct light can create unflattering shadows, while insufficient light can leave the image underexposed.
To avoid this, it’s best to use soft, diffused lighting, such as natural light from a window or light bounced back from a reflector to soften shadows. Again, check out this post here which will be helpful when choosing the right lighting.
Unflattering Angles
Choosing the wrong angle can distort your features or create weird-looking proportions.
For most self-portraits, you will look best when shooting from eye level or slightly above.
Take time to experiment with different angles to see which works best for you.
Ignoring the Background
Pay attention to the backdrop – a cluttered or distracting background can pull attention away from you as the subject.
Make sure the background in your shot is clean and matches the overall composition.
If you want to blur out the background, use a wide aperture (lower f-stop) to create a shallow depth of field.
Another alternative is using studio backdrops (that’s what I do most of the time).
Here’s a post dedicated to photography backdrops if you want to learn more.
7) Next Steps: Check out my E-Book!
My Ebook: The Self-Portrait Guide!
Would you like to learn more about self-portrait photography? Then check out my ebook now! Topics include:
- how to use natural and artificial lighting
- essential gear you’ll need for self-portraits at home
- idea-finding techniques to develop concepts for photo shoots
- how to edit, export and print your images, and more!
