
6 Ways to Find Ideas for Studio Photo Shoots
Creativity is not an ever-flowing tap, which is why it can be hard to find ideas for studio photo shoots sometimes.
Over the years, however, I have gathered some great strategies that have helped me get my creativity flowing when I feel stuck, and I’m excited to share them with you today.
As a self portrait photographer, people often ask me:
“Is it not really complicated, taking your own picture? That must be such a technical challenge, being the model and photographer at the same time”.
It’s true, taking self portraits can be technically challenging.
But to be honest with you, the hardest part of the process is actually finding ideas for studio photo shoots.
That’s because inspiration is fickle:
Sometimes, great ideas tumble into my head out of nowhere, but mostly, finding and developing ideas is a laborious and sometimes frustrating process.
I think this is probably true for most artists:
Hardly anyone comes up with one genius concept after another without having to work at it consciously.
Luckily, there are ways to tease creative ideas out of you.
You don’t have to wait for the photography muse to kiss you; you can actually be proactive about idea generation and kick your creative brain into gear by following a few simple strategies.
In today’s blog post, I will share my six favourite ways to find inspiration for studio photo shoots.
1) Make Lighting the Star of Your Shoot
As studio photographers, we’re in the lucky position of having access to different light sources and modifiers.
For my first tip on finding ideas for studio photo shoots, I suggest making your lighting choice your creative inspiration.
To do this, pick one type of lighting that interests you; here are some ideas:
- Moody, painterly lighting using a beauty dish and honeycomb grid – think Rembrandt painting
- Extremely harsh lighting, using on camera flash or a bare flash head (research Ellen von Unwerth or Juergen Teller for examples)
- Romantic lighting using a sunset lamp
- Black light, using an UV light bar
- Shadows in the style of a window shutter (cut slits into a piece of cardboard and mount it in front of your light source for an easy DIY version of this)
- Barely-there, indirect light bounced onto you or the model from a reflector
- A light source behind you or the model for a silhouette effect

Self-Portrait Inspired by the Lighting in Rembrandt Paintings.
In the past, I have often found it incredibly helpful to simply choose a particular lighting effect and then develop a shoot idea from there.
Lighting adds so much to the atmosphere and mood of a picture, and it can really help set the tone of your shoot.
What I like to do is pick one of these lighting techniques and then search the term on Google or Pinterest to create a little mood board, i.e. “sunset lamp photo shoot”.
Before I get to the next section…did you know you can download my free portrait photography ebook? More info below:
Free Ebook: 50 Portrait Photography Ideas
If you need fresh inspiration for your portrait photography, download my e-book which contains 50 creative ideas and projects for portrait photography.

…but now, back to the blog post!
2) Start with an Emotion
This is actually my favourite way of generating ideas for studio photo shoots; in fact, it’s the main driving force behind my self portraits.
Starting with an emotion is incredibly powerful because it usually results in very evocative images that make other people feel something when they look at your images.
I’ve already written about this technique in my article here, but I include it again because I love it so much!
You can use emotions for generating ideas for studio photo shoots in the following way:
Pick any emotion you want to convey in your photograph.
Ideally, it will be something you have recently felt, as this will give your concept more depth.
I’ll give you an example:
A while ago, I found a dead baby pigeon, and it made me feel so incredibly sad and helpless! I used this emotion as the base for this photograph here:
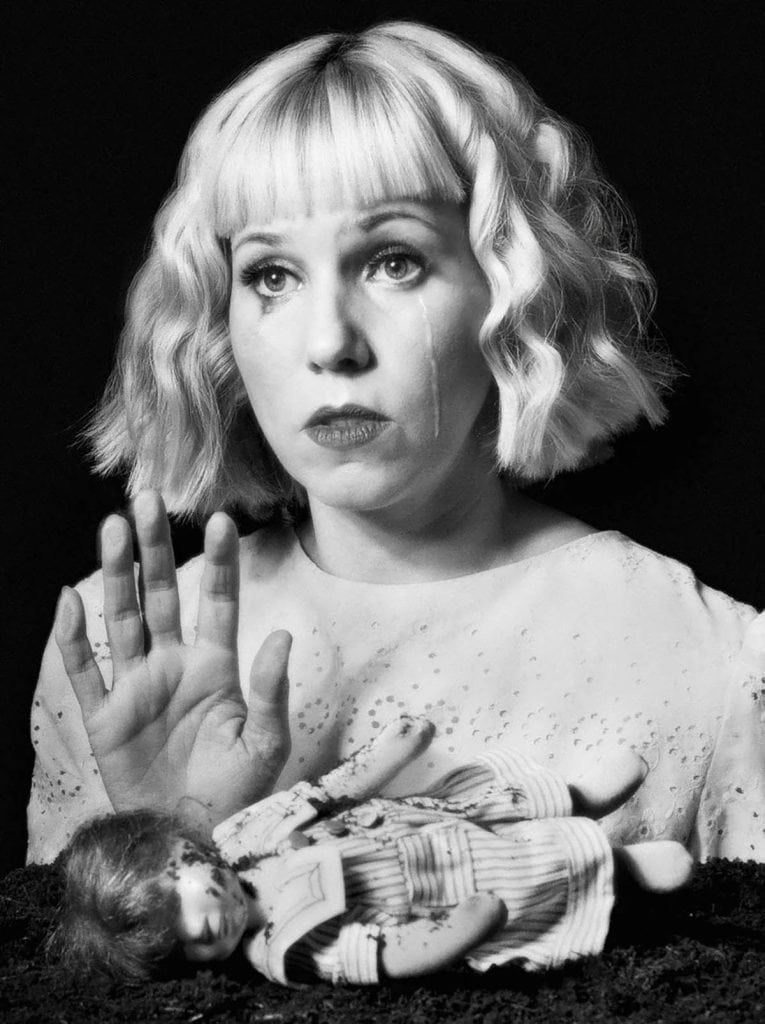
Of course, you can also use universal emotions, or even “borrowed” emotions from others.
For example, I recently did a shoot in my friend’s wedding dress (with her consent, obviously 😊).
Her marriage didn’t end in a happily ever after, and I interpreted this in my own way, wearing the dress almost like a straight jacket:
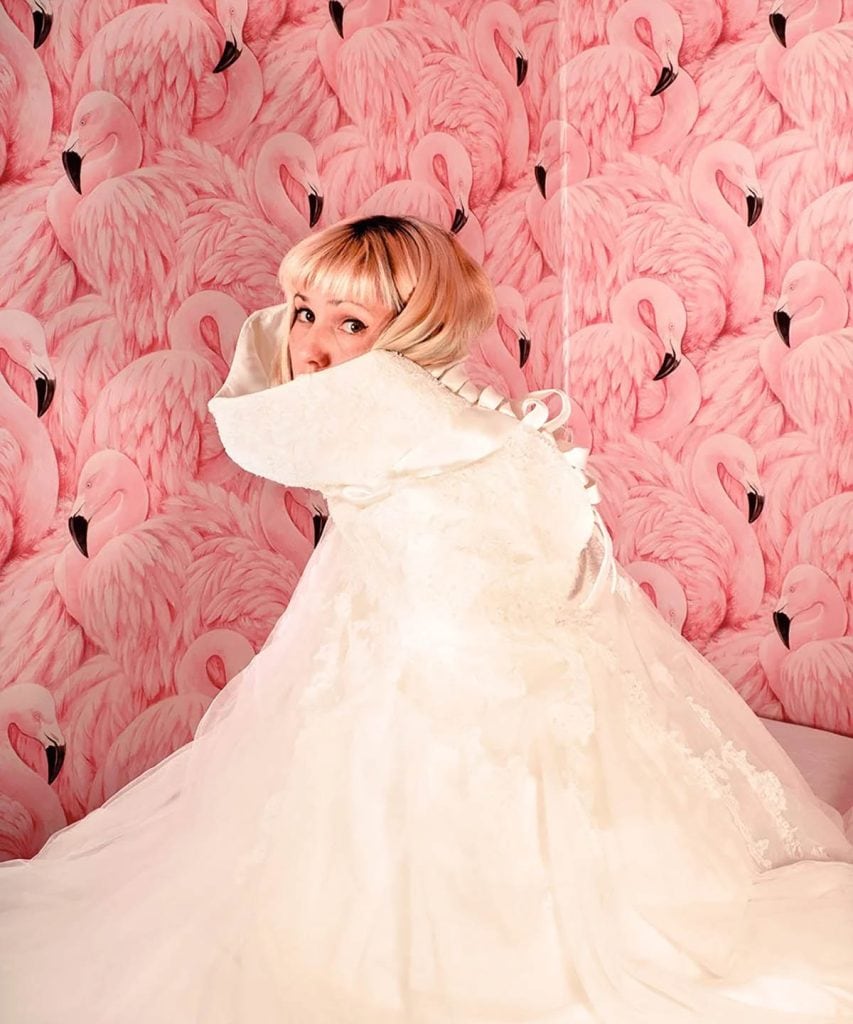
For your photo shoot, think about how you can convey the respective emotion using simple tools like:
- particular colours (e.g. red for passion, blue for sadness, green for envy, etc
- props – flowers for love, butterflies for happiness, birds for hope, barbed wire for pain, and so on
- lighting – e.g. using a very small light source such as a bedside lamp, or using coloured gels in front of your flash to create a particular mood
- posing/body language, e.g. sitting with slumped shoulders and head bowed down to express sadness.
3) Get Inspired by Paintings
This one is really not a big secret, as almost every photographer I talk to names classical painting as one of their inspirations, and for good reason.
Next time you’re stuck for ideas, why not visit a museum and look at some paintings, particularly from the Baroque or Renaissance period–I find this to be an absolute fail-safe option.
It works because almost all famous, skilled painters very deliberately thought about composition, colour theory and symbolism, which is why their work is often so emotive.
Hence, if you base your shoot on one of their paintings, your starting point is a rich, meaningful piece of art, which in turn will make your own photograph more interesting and layered.
Obviously, I’m not saying you should simply find a nice painting and copy it.
Instead, take a picture of a painting you love and analyse what elements make it intriguing to you–then translate those elements into your own style.
Here’s an example of my work; I was very inspired by the beautiful pose of this painting by Tamara de Lempicka:
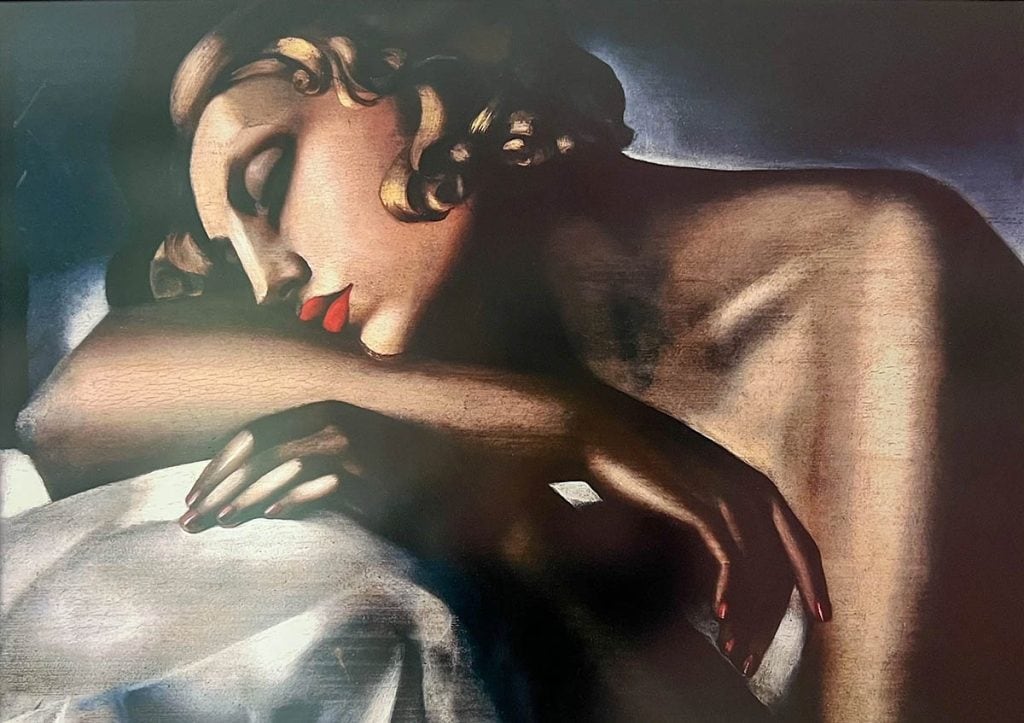
In my own photo shoot, I tried to copy the pose and convey the same dreamy aesthetic, but with my own twist:
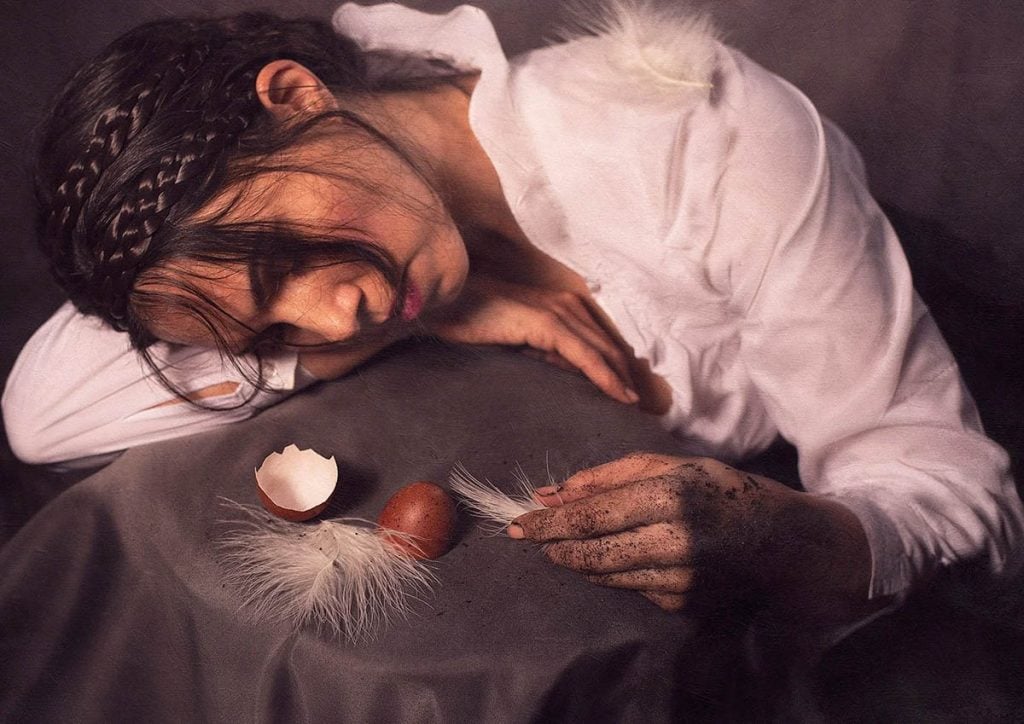
4) Use Words, Poems and Lyrics
This is perhaps a less likely source of inspiration, but for me, it’s one of the most powerful–maybe because my past career is in translation and I’m a linguist by trade!
We all know that words are powerful:
They can inspire whole nations or knock someone’s confidence down in one sentence.
If you’re someone who enjoys reading and writing or who is generally a “word” person, this technique is definitely worth a try.
To get inspired by words, make a point of reading classical novels and poems or listening to songs with interesting lyrics.
For example, my flatmate is a musician, and he wrote some really deep, beautiful lyrics recently that inspired me to a photo shoot.
You don’t even have to seek out words on purpose; just pay attention to what you read and hear in newspapers, everyday language, movies and conversations.
This can be a very random process:
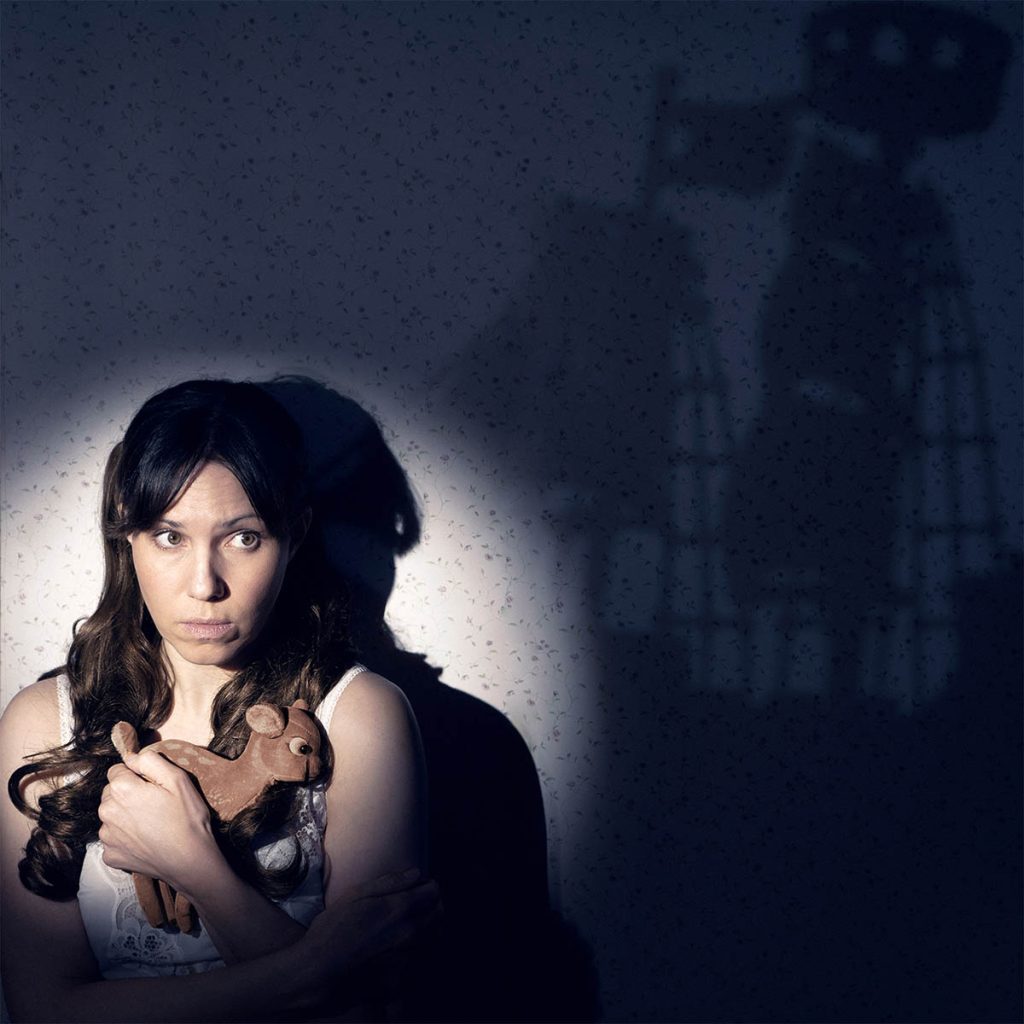
I recently read a book about Japanese history, which contained a reference to “black ships”, Western vessels arriving in Japan in the 19th century, that were perceived as a threat, and I found this term to be very evocative.
Hence, I created a little mindmap:
I noted down the term “Black Ships” and then brainstormed all kinds of related thoughts and emotions, like “menacing”, “no escape”, “fear”, “discovery”, “surrender”, “defence”, etc.
As a next step, I picked the term that spoke to me the most and thought about how to convey this with pictorial elements, such as symbols, certain poses or colours.
Here’s the final image I created:
5) Pick a Technique and Go from There
As you may have experienced before, constraints can really boost creativity.
For this inspiration finding strategy, I suggest you pick a particular technique, e.g. slow shutter speed, shallow depth of field, using a soft focus filter, double exposure, etc.
By limiting yourself to one technique only, you paradoxically free up your creative mind:
You artificially give yourself limited choice, leading to less overwhelm.
For example, I have used this in the past by deciding to shoot with a very slow shutter speed only.
This then gave me a starting point to research some examples of slow shutter speed used in art photography, leading to a nice mood board with several ideas to try out.
The added bonus of this is that you can also expand your technical skills if you pick a technique you’re not yet familiar with.
By the way, don’t restrict yourself to digital photography techniques–it’s really worth expanding your horizon and including alternative photography processes.
For example, you could print out your photo and manipulate it with paint, fire, collage, and so on.
I recently based a whole shoot on the idea of putting a photo in the freezer (I know, it sounds weird!).
I saw this in a photography online course by Danny Bittencourt, and it inspired me to create a moody self-portrait in black and white, which was only based on the concept of freezing a photograph.
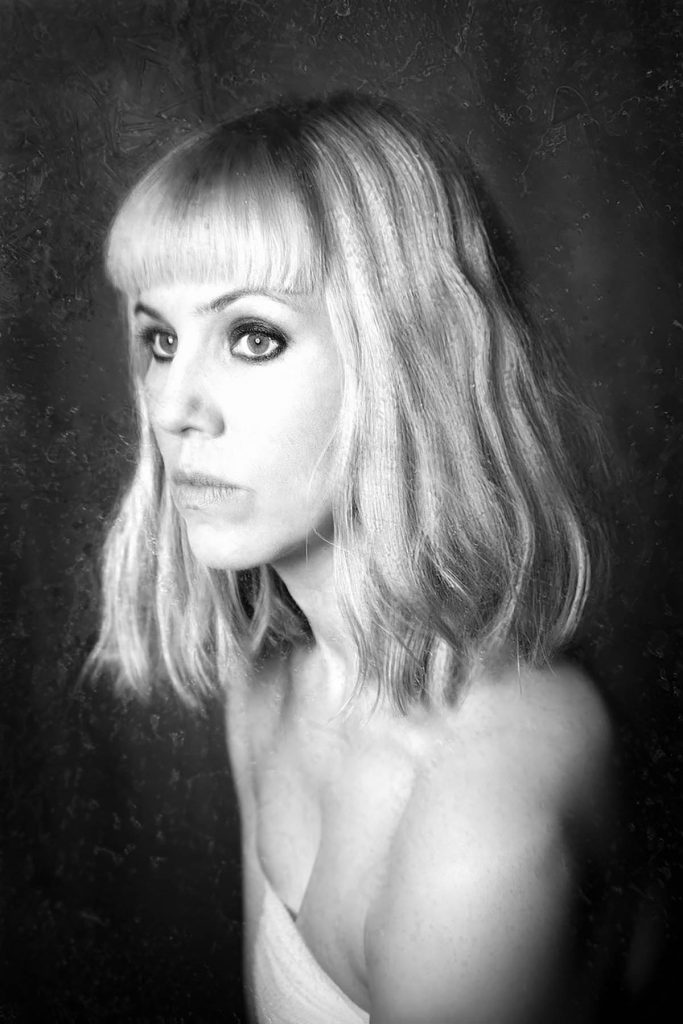
A self portrait I printed out, put in the freezer overnight and then rephotographed.
Another way to go about this is picking a particular aesthetic rather than technique, for example “dreamy”, “cinematic”, “moody”, “romantic”, and so on.
Again, Pinterest is your best friend:
Simply enter the desired term and create a mood board with 20 or so images.
Then, analyse what unites the images you saved:
Is it a particular type of lighting, a certain pose, specific make up and clothing, composition, colour, etc?
For example, I was recently very inspired by ultra pink, 50s style, feminine boudoir pictures with a soft, dreamy vibe, and the respective mood board will serve as a base for my next shoot.
6) Find a Meaningful Prop
You can also get inspired by props, a method that works really well for me.
Objects can be full of symbolism and meaning and thus are an excellent inspiration source for studio photo shoots.
Again, think of classical paintings, where a snuffed out candle, a skull, an open book or a feather can say so much.
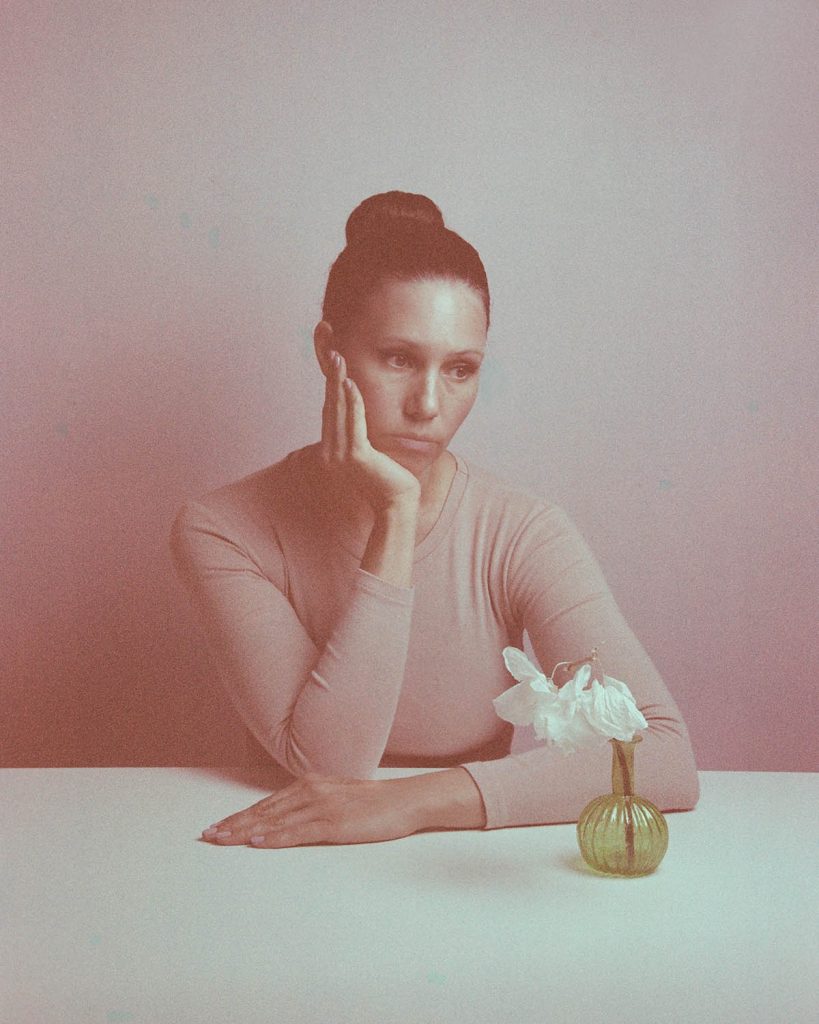
Self-portrait with withered flower.
For your own shoot, you could find interesting objects at flea markets, in charity shops/thrift stores, or even on Ebay.
Here are some ideas:
- Flowers – fresh or dried
- Ornaments such as delicate vases, bold sculptures, etc
- Feathers
- Balloons
- Knifes
- Musical instruments
- Keys
- Glasses
- Eggs, fruits and vegetables
- Dice
- Compass, looking glass
- Clocks
- Candles
- Mirrors, broken mirrors
Perhaps even reading through this non-exhaustive list has given you some ideas.
Like with any creative exercise, you simply want to give your brain some food for thought.
Creating from a vacuum is tricky, so starting with an interesting prop will be much easier than simply trying to come up with ideas out of nowhere.
Once you have chosen a prop, write down what you associate with it:
What does it symbolise (for your personally, or universally)?
Think – who could be the “character” of your shoot?
Is it the prop itself, or is it the person it belongs to/who’s holding the object/using it?
What mood do you want to create in the picture? And so on.
Layering Your Inspiration
By now, you can see that the process for idea generation is actually pretty straight forward:
Find one little nugget of inspiration and expand your idea from there.
One last tip: your picture will always end up being more interesting if you layer your inspiration.
What do I mean by that?
Well, let’s go back to the wedding dress picture I shared above.
The main inspiration was the feeling of being trapped.
On top of that, there are two interesting props: the wedding dress, plus the crazy wallpaper, contributing to the claustrophobic vibe.
And finally, I used a minimalist triangular composition based on classical paintings to make the image more impactful.
And that’s it for today’s blog post. Hopefully, you found these idea-finding tips helpful!
P.S.: Do you enjoy taking cinematic portraits? Then you may like my free email challenge – more info below:
Free 7-Day Cinematic Portrait E-Mail Challenge!
Do you want to master cinematic portrait photography in seven days? Then sign up for my free email challenge with a different creative prompt every day!
