
Do you love taking self-portraits but find it hard to come up with self-portraits photography ideas?
Then read on because today’s blog post contains lots of creative ideas for your self-portrait shoot!
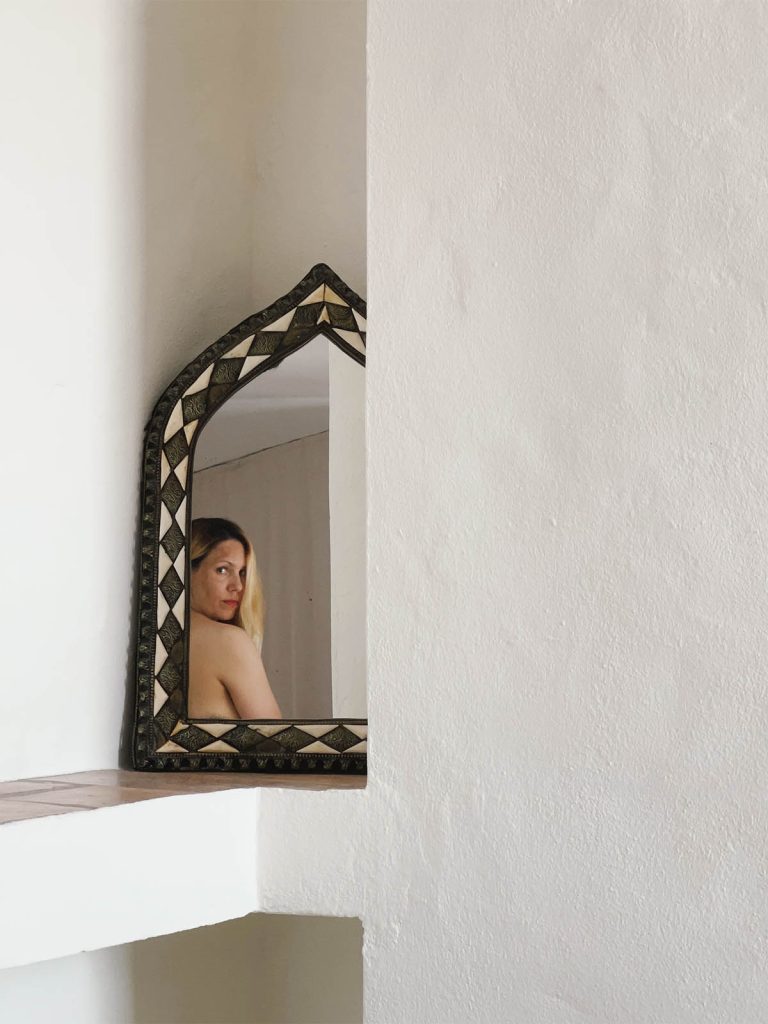
1) Shoot a Self-Portrait in the Mirror
One of the simplest yet most effective ways to capture a self-portrait is through the classic mirror shot.
What I love about shooting a self portrait in the mirror is that it allows you to play with angles and compositions that wouldn’t be possible otherwise.
Experiment with different poses and try mirrors of various shapes and sizes to add variety to your shots.
You can also hold the camera in one hand and angle the mirror to create interesting reflections.
2) Take a Silhouette Self-Portrait
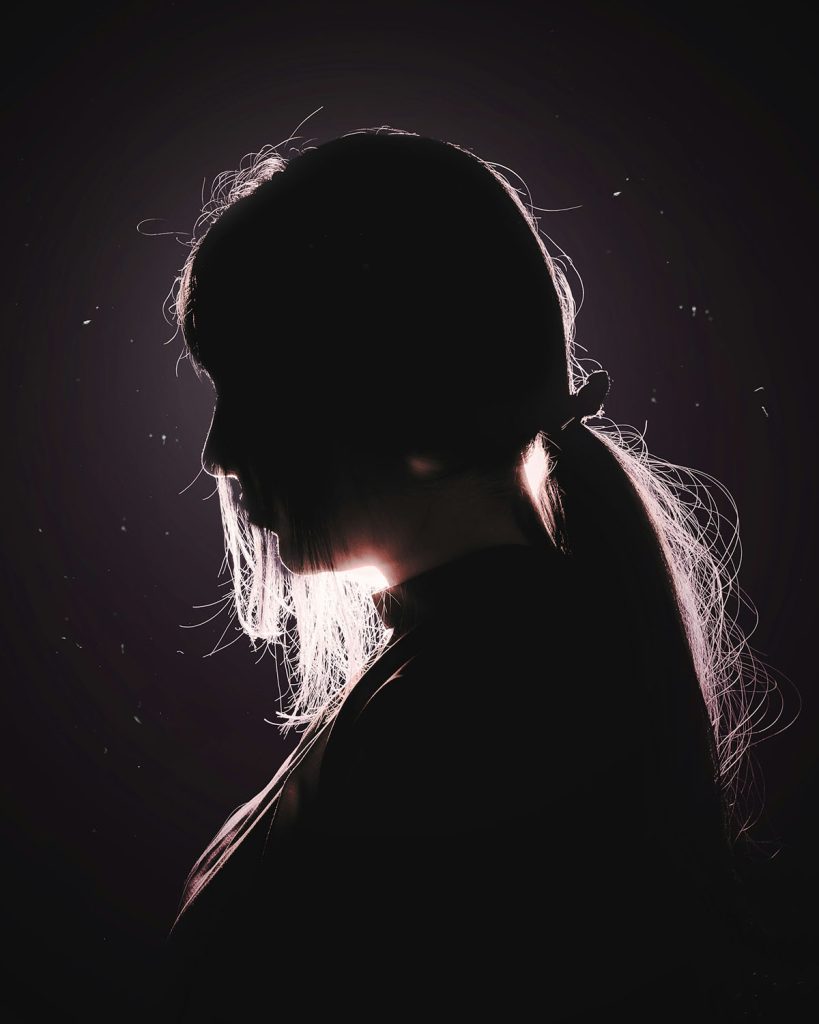
In a silhouette shot, you photograph yourself against the light, creating a dramatic dark effect.
To achieve the effect, place yourself between the camera and a bright light source, such as a window or a strobe light.
The goal is to capture your outline while keeping the details of your features in the dark.
I love silhouettes because they create a sense of mystery and drama.
If you want to intensify the effect, adjust the contrast and brightness in an editing app/Photoshop.
The silhouette effect usually looks better if you increase the contrast/amp up the blacks and whites.
3) Create a Double Exposure Image
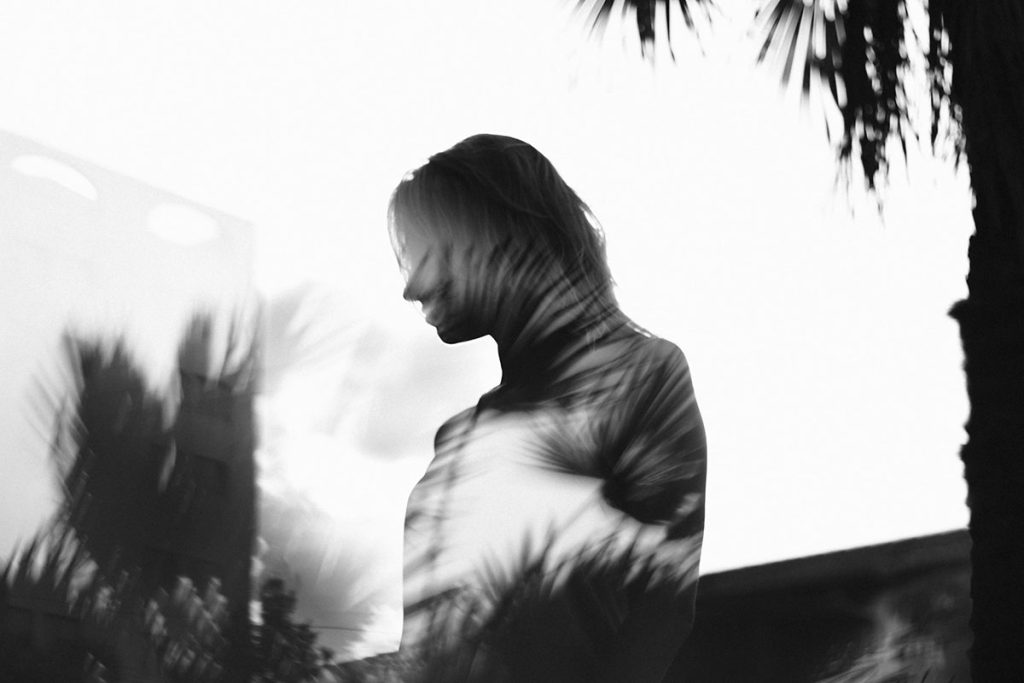
Double exposure photography merges two images into one, creating a surreal and artistic effect.
You can use this technique to blend your self-portrait with another image, such as a landscape, an object, or a pattern.
Most modern cameras have double exposure capabilities, meaning you can do it in camera – if that’s not the case, you can combine the two images in Photoshop or any other editing software.
By the way…do you need help with the practical aspects of taking self-portraits, such as focusing or triggering the shutter? Then check out my free ebook below:
Free Ebook: Self-Portraits Made Easy
If you love taking self-portraits but struggle with the technical aspects, download my free guide with essential self-portrait photography tips and common mistakes to avoid.
…but now, back to the blog post!
4) Develop a Concept
Conceptual photography involves creating images that convey specific ideas or themes.
I personally love using the conceptual approach for my self-portraits because I find that it gives them more depth and meaning.
If you want to take a conceptual self portrait, try to think about themes or messages you want to communicate.
This could be anything from personal struggles and wins to abstract concepts like freedom, isolation, transformation, etc.
Use props, costumes, make-up and other elements in order to illustrate your concept. I particularly love using symbolism in my photography – read more about the topic here.

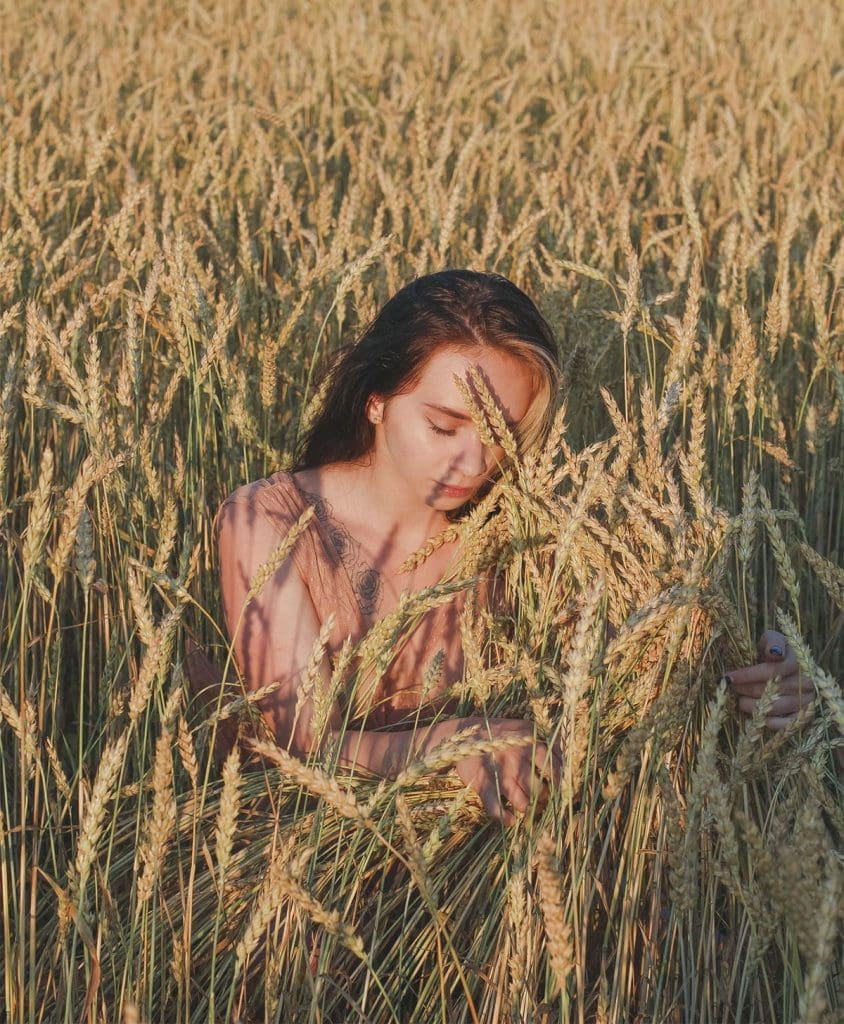
5) Use Your Environment
Your surroundings can tell as much of a story as your expression and pose.
For environmental self portraits, photograph yourself in a place that is meaningful or visually striking, such as your home, a favorite park, an interesting landscape or an urban setting.
When taking this kind of self portrait, it helps to use a wide-angle lens to capture more of the surroundings.
6) Go Abstract
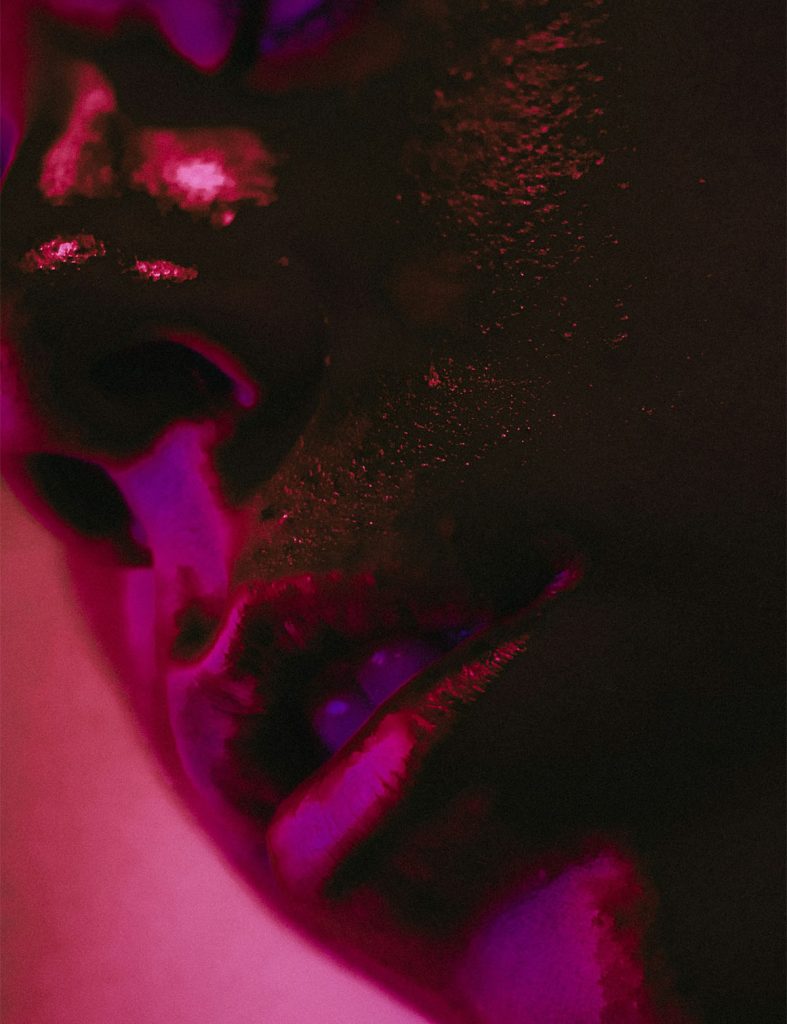
You don’t always have to take a “standard” self portrait of your whole face and body.
Instead, go abstract by focusing on lines, patterns, textures or shapes only.
Try shooting close-ups of parts of your face or body or taking the photo from unconventional angles.
You can also achieve an abstract effect by playing with light and shadow or cropping the photo in post-production.
7) Capture Motion Blur
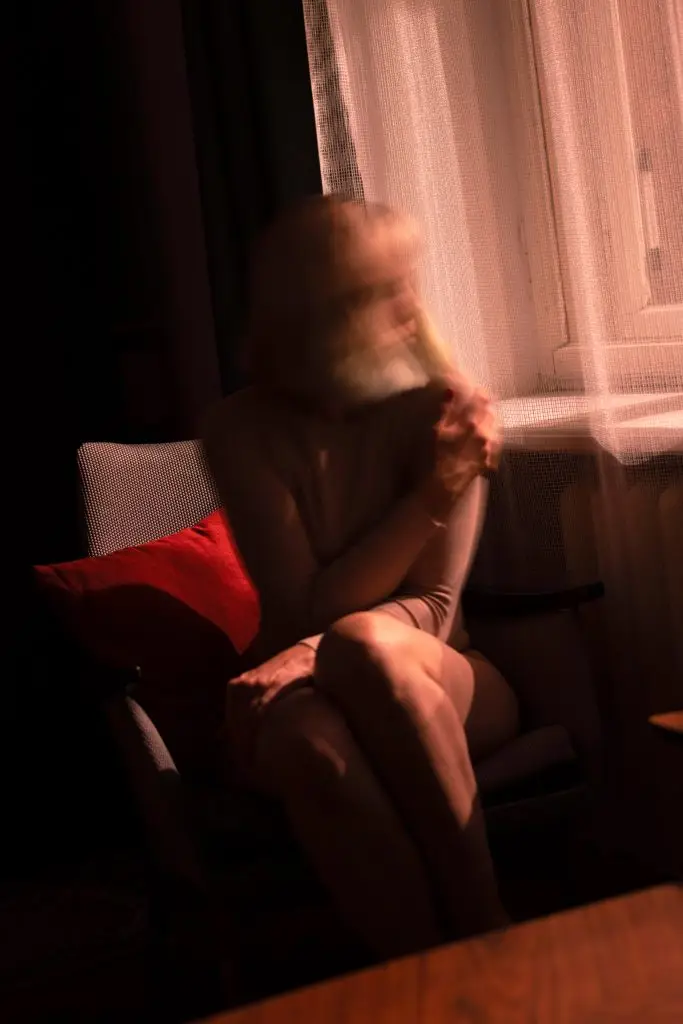
Adding motion blur to your self-portraits can convey a sense of movement and energy.
You can achieve this by using a slow shutter speed (1/30s and below) and moving slightly while you take the photo.
You could even combine motion with light sources, like sparklers or LEDs, for added effects.
This kind of self portrait may take quite a few tries, so be open to experiment.
8) Incorporate Shadows
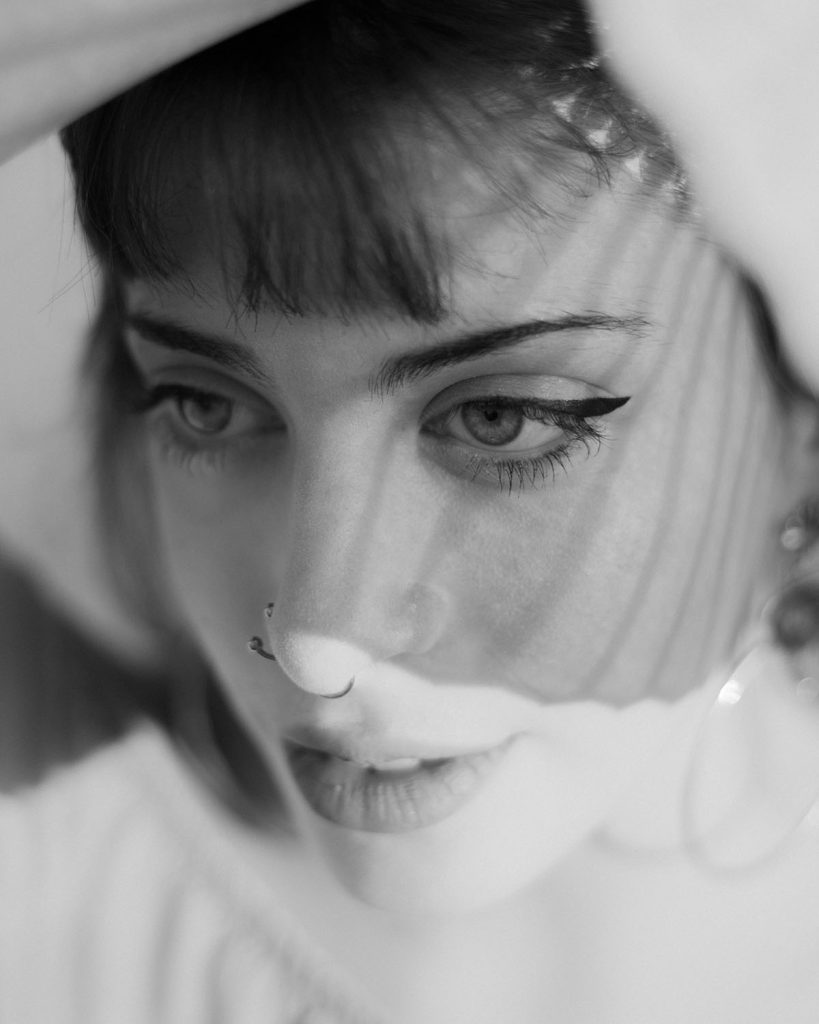
Shadows can add a very dramatic vibe to your self-portraits.
Use strong directional light to cast interesting shadows on your face or body, or create patterns using objects like lace, leaves, or blinds.
You can also experiment with other light sources, such as sunlight, lamps or candles. Adjust the distance between the light source and the object to change the shadow’s intensity.
9) Shoot a Series
A self-portrait series involves creating a collection of images that explore a particular theme, story, or aspect of yourself over time. This approach allows you to delve deeper into your subject matter and tell a story over several images.
You could create a series based on different emotions, stages of life or past experiences.
Tip: Plan your series with a clear concept or narrative in mind.
Also, try to keep the visual style consistent to create a cohesive look, e.g. by using a similar backdrop, similar colours, consistent framing, etc.
You can read more about how to create a series in this post.
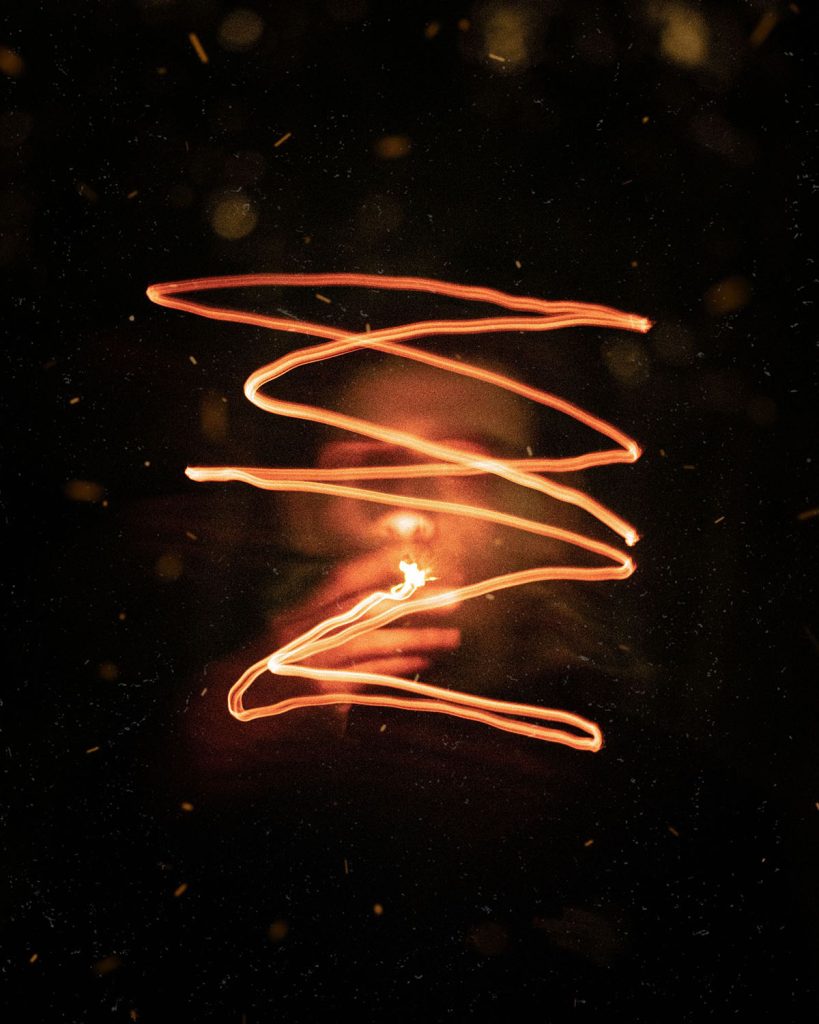
10) Paint with Light
Light painting is a really fun technique that can create interesting, unique effects in your self-portraits.
To do this, use a long exposure and move a light source, such as a flashlight or glow stick, to “paint” in the air around you.
With this technique, you have to experiment quite a bit with different shutter speeds and movement speeds – try to create light trails or intricate patterns. Also, if you have one, use a tripod to keep your camera steady during the long exposure.
11) Express your Emotions
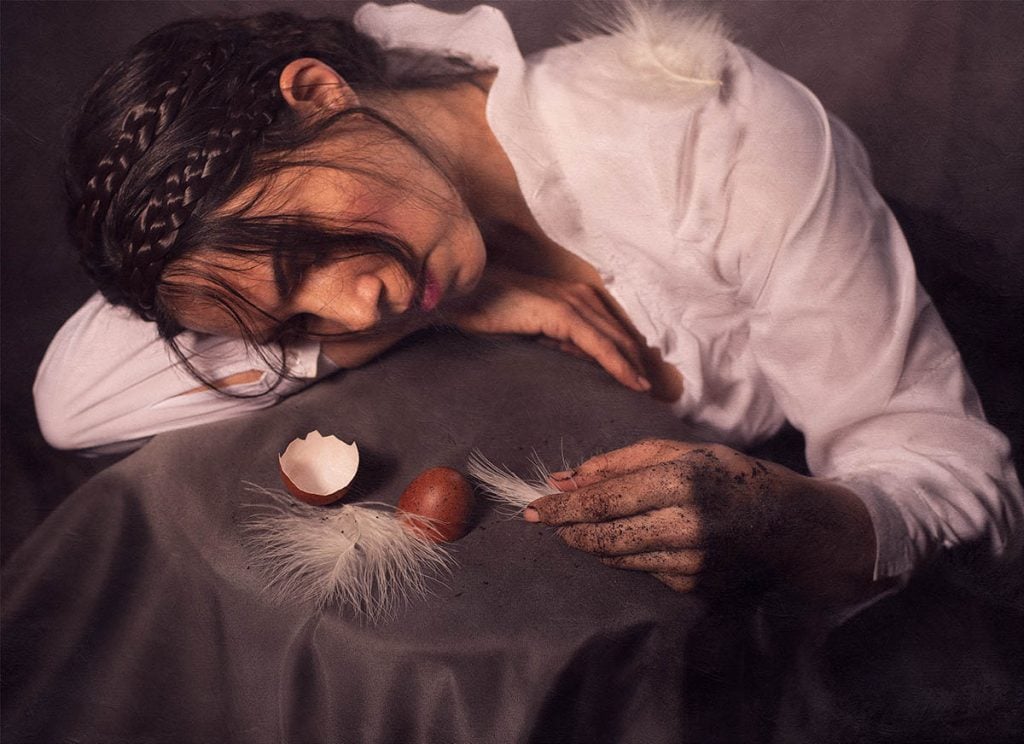
Taking self portraits inspired by your emotions is incredibly powerful because it usually results in very evocative images that make other people feel something when they look at your images.
You can either:
- Use your current emotions – express how you’re feeling right now
- Use a past experience, for example a difficult period in your life, a very joyful event, etc
You can express the respective emotion through a specific framing, body language, make-up, clothing, certain technical settings, symbolism, etc.
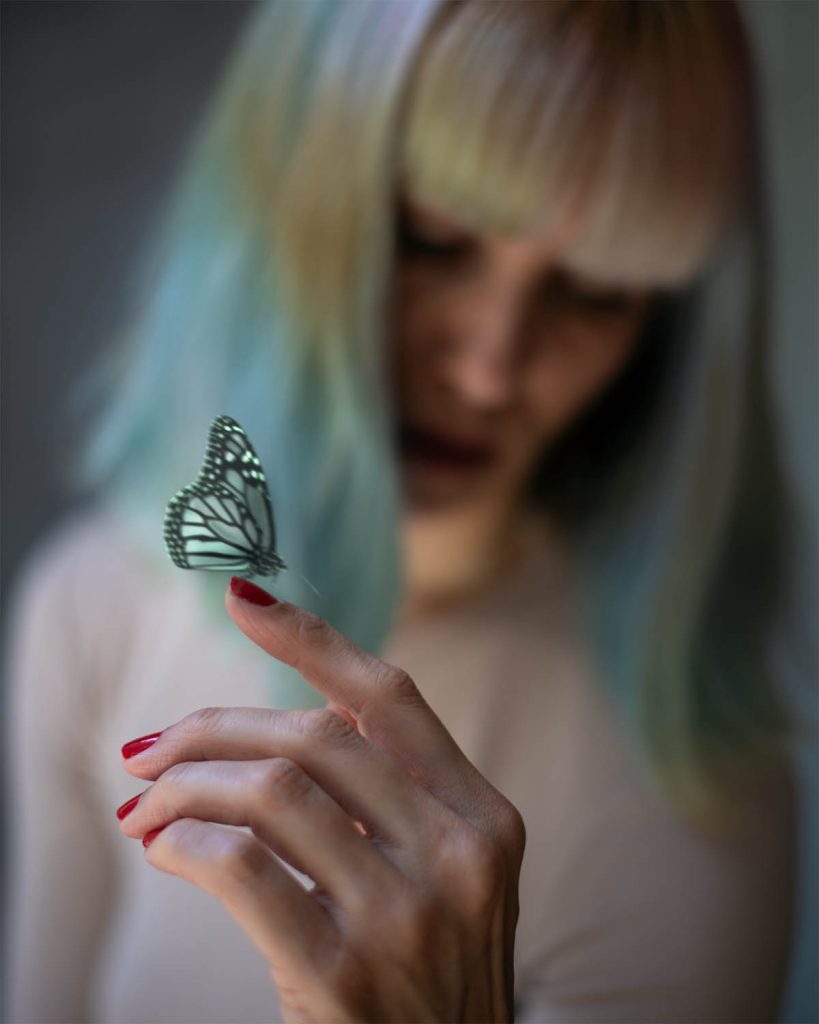
12) Use Props
Using props in your self-portraits can make the images more interesting and visually engaging.
Think about objects that mean something to you, such as a musical instrument, a book, a piece of art, or even something quirky like a balloon or a mask.
These items can add depth to a self portrait and help tell your story.
Just a little interruption to say:
If you want to dive deeper into self-portrait photography, check out my ebook below.
It contains 70 reflective, creative self-portrait photography prompts to develop your skills and take more meaningful, expressive self-portraits:
Get Fresh Inspiration For Your Self-Portrait Photography
Discover new ways to approach self-portrait photography through creative prompts exploring symbolism, storytelling, painterly techniques, mixed media, and emotion.
…now, onto the next self-portrait idea, which is using low-key lighting.
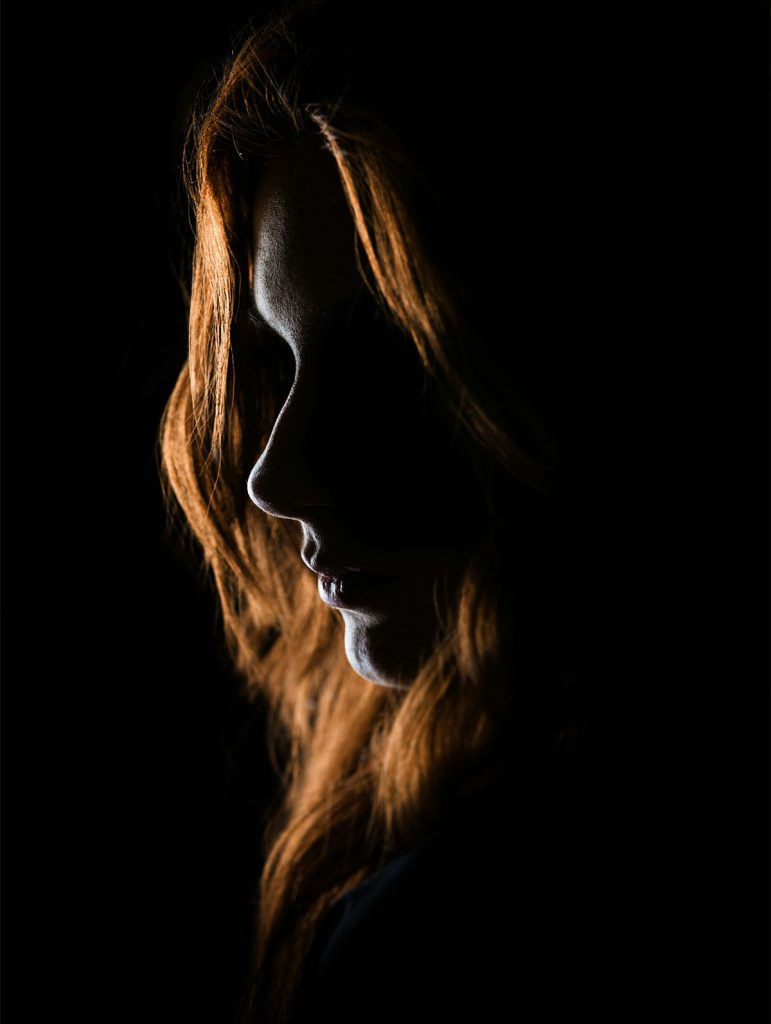
13) Try Low-Key Lighting
Low-key lighting is a technique that emphasises shadows and creates a moody, dramatic effect.
It’s achieved by using minimal light sources, often just one, to illuminate part of your face or body while leaving the rest in shadow.
To do this, try posing in front of a small light source like a bedside lamp, a desk lamp, etc. You may have to use a higher ISO than usual to achieve a correct exposure (ISO 400 and up).
14) Go Black and White
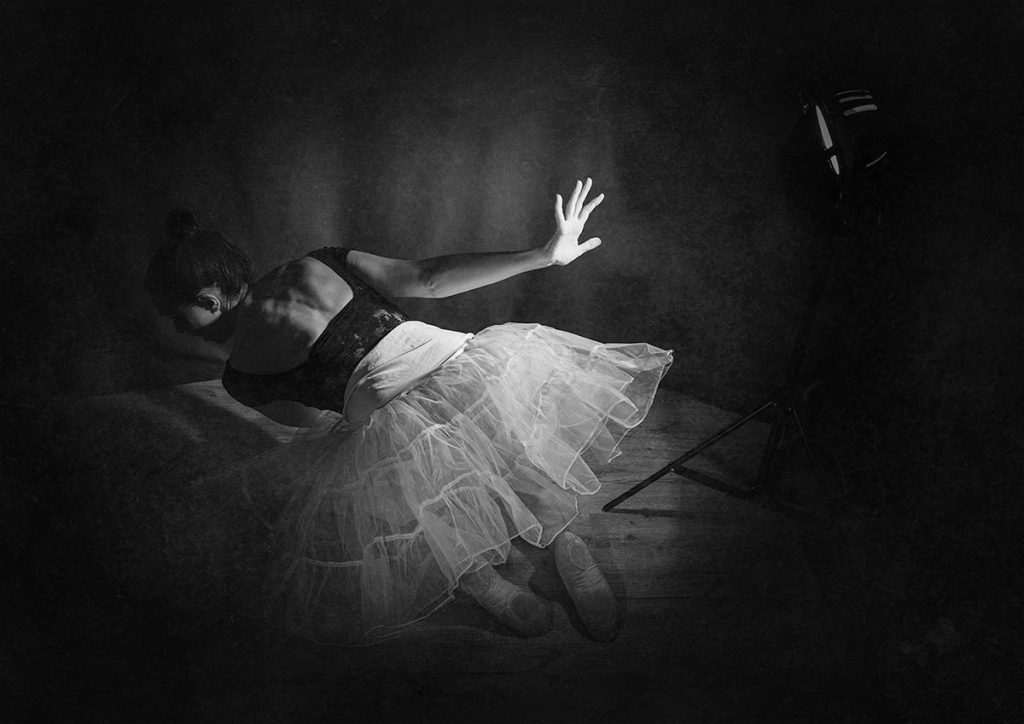
Black and white photography strips away the distraction of colour, putting the focus on composition, contrast and emotion.
Convert your self-portraits to black and white to give them a timeless, classic feel. This technique works especially well with self portraits that emphasize texture and form.
15) Incorporate Textures
Textures can add a tactile quality to your self-portraits.
Experiment with different materials such as lace, glass or fabric in front of the camera to create interesting overlays or patterns in your self portrait.
You can also add textures in post-processing for a more layered and complex image.
16) Frame Yourself with Objects
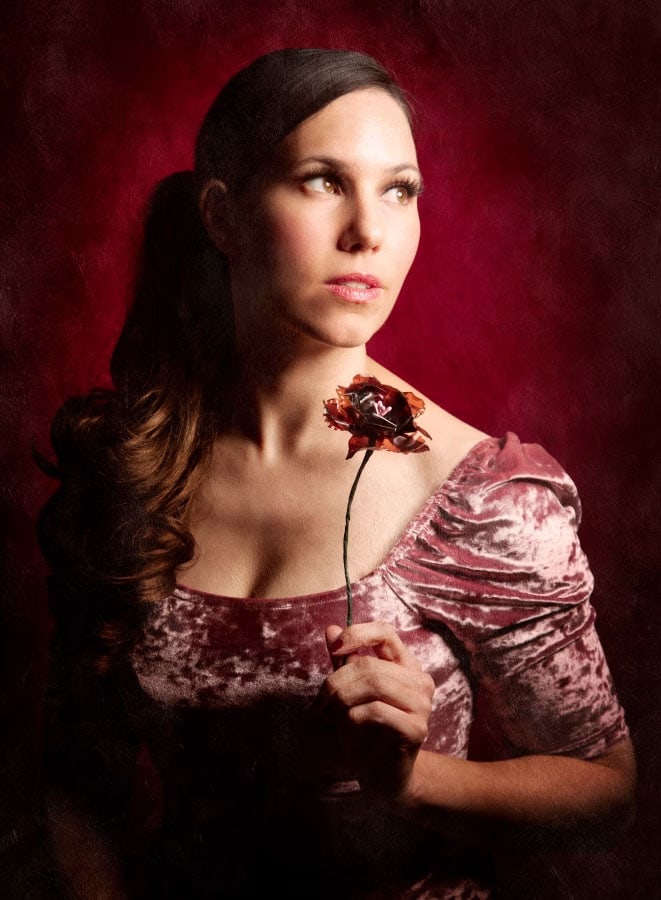
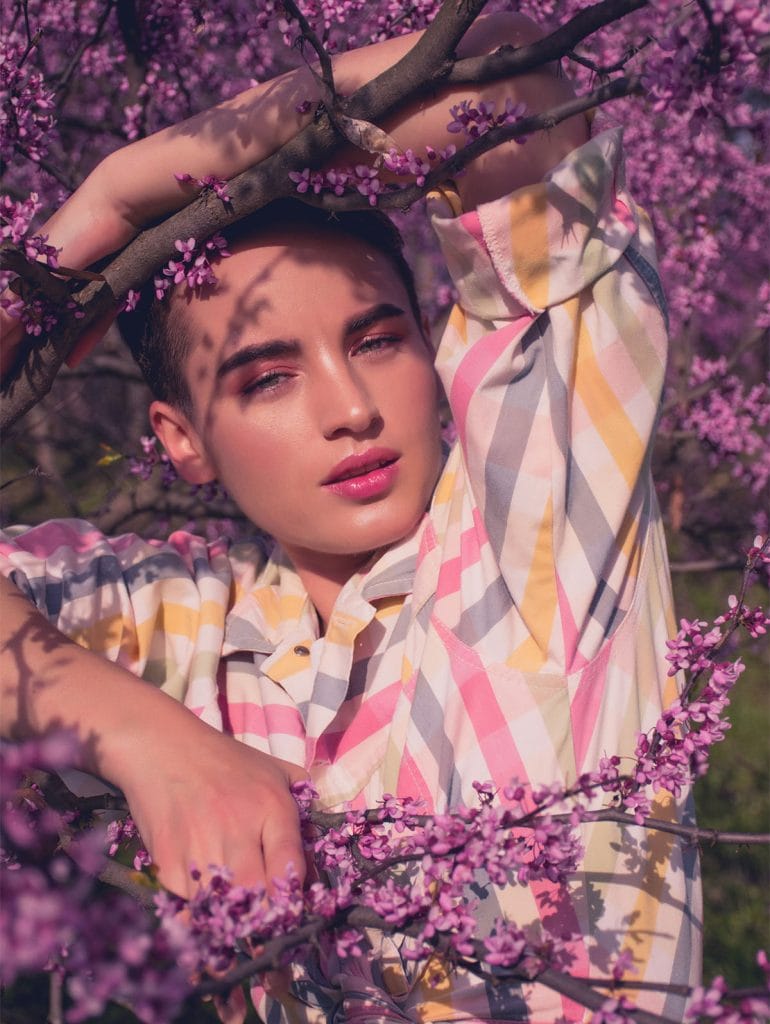
Use elements within your environment to frame yourself creatively.
This could be anything from doorways, windows, or even the branches of a tree. Framing directs the viewer’s attention to the subject (i e. you) and can add a sense of intimacy to your self-portrait.
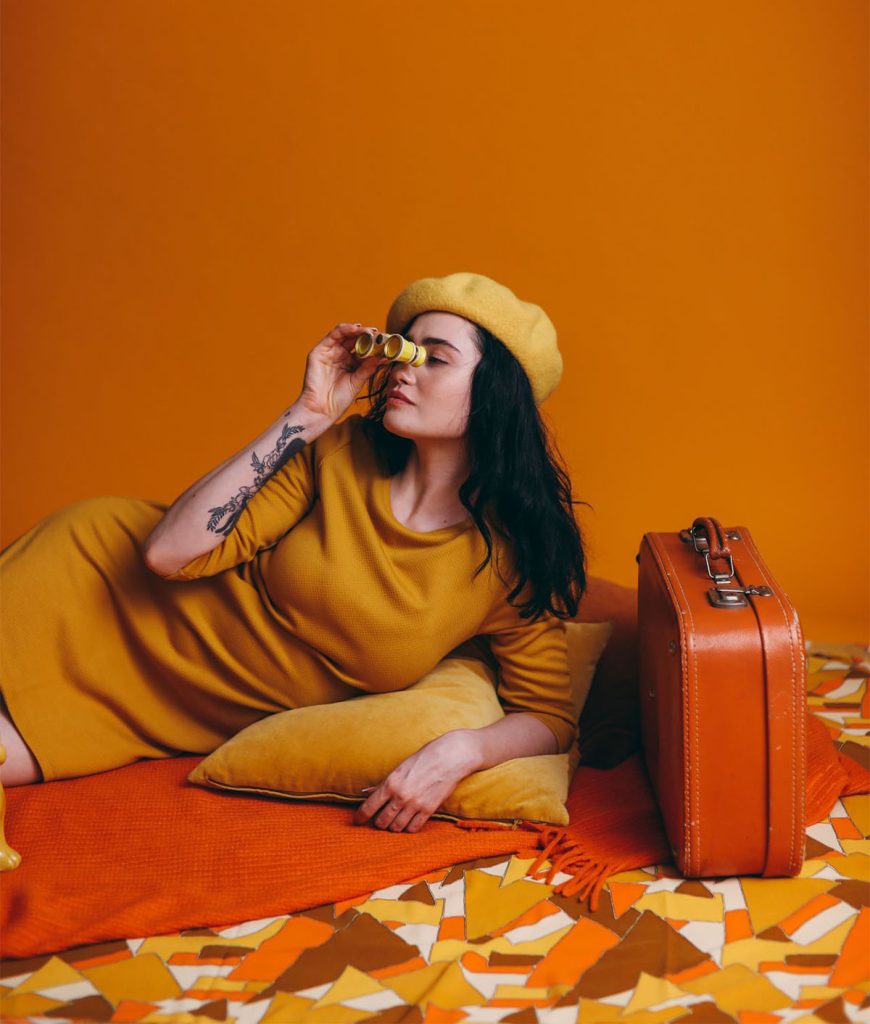
17) Use an Accent Colour
Focus on one colour/tonal range in your self-portrait while keeping the rest of the image muted or monochromatic.
This can be done through selective colouring in post-processing or by carefully choosing your outfit and background. The pop of colour will draw attention and create a visually striking image.
18) Use Natural Light
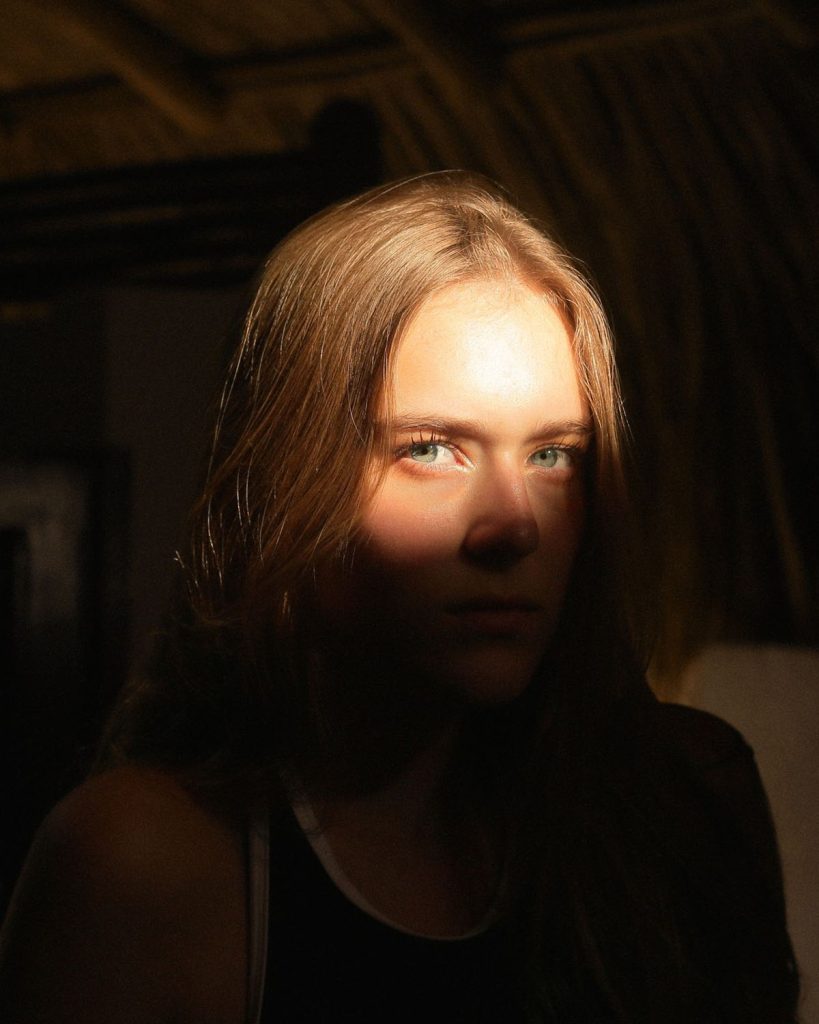
Natural light is one of the most flattering and accessible lighting sources for self-portraits. Position yourself near a window or in an outdoor setting to take advantage of soft, diffused light (avoid direct sunlight as it will cause harsh shadows).
I promise to keep this blog completely ad-free so you can read without distractions. If you want to support my work, buy me a coffee: It’s a small gesture that makes a big difference!
Early morning or late afternoon offers golden hour light, which is perfect for creating warm and flattering self-portraits.
Experiment with the direction of light, using it to highlight your face from different angles for varying effects.
19) Use Reflections in Water
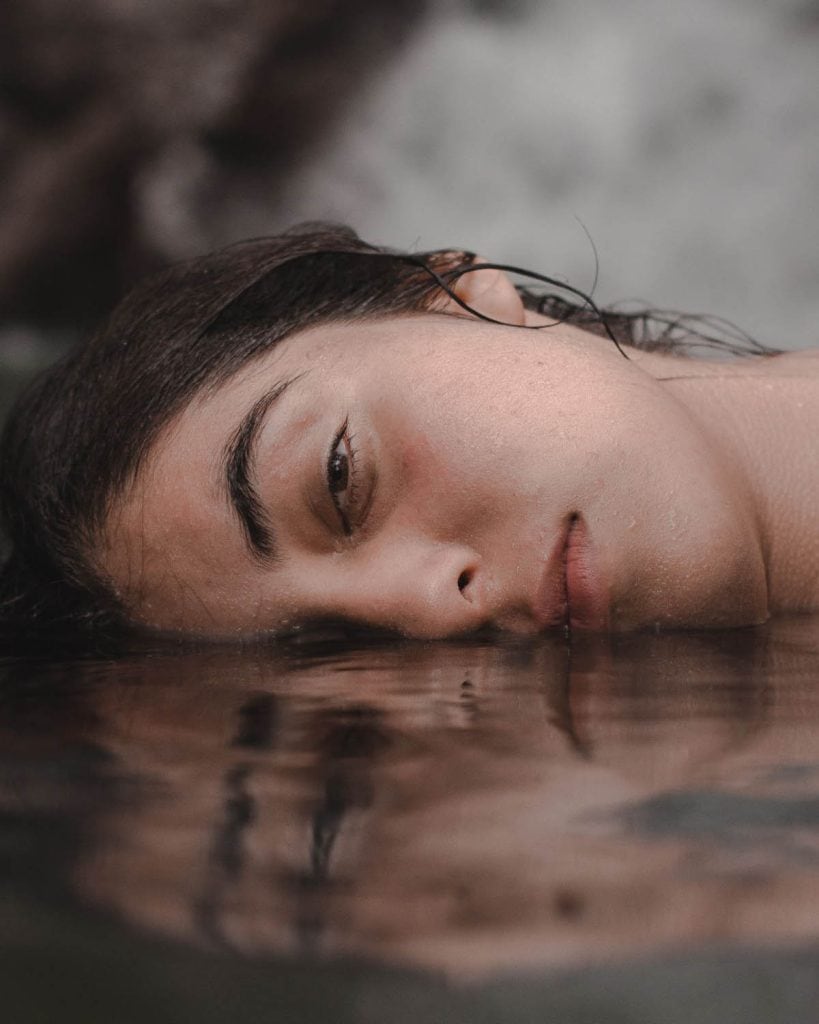
Reflections in water can create really interesting self-portraits.
Use a puddle, lake, or even a reflective surface like a wet sidewalk to capture your reflection.
If you’re more comfortable shooting inside, you can use your bathtub/shower.
20) Play with Colour
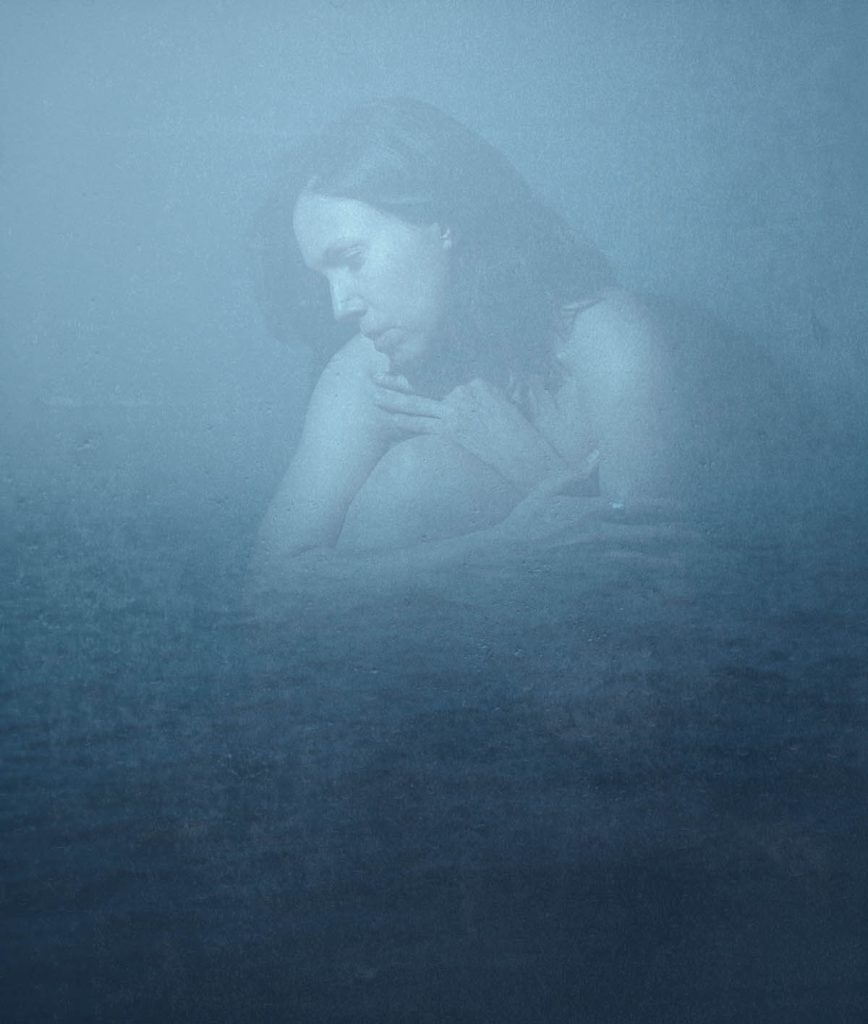
Colours can evoke different emotions and set the tone of your self-portrait. Experiment with different colour palettes and filters to see how they affect the mood of your image.
Warm tones like reds and oranges can create a sense of warmth and passion, while cool tones like blues and greens can evoke calmness and introspection.
You can achieve this through outfit choices, make-up, backdrops, coloured gels (sheets of heat-proof plastic you put between light and camera) or post-processing filters.
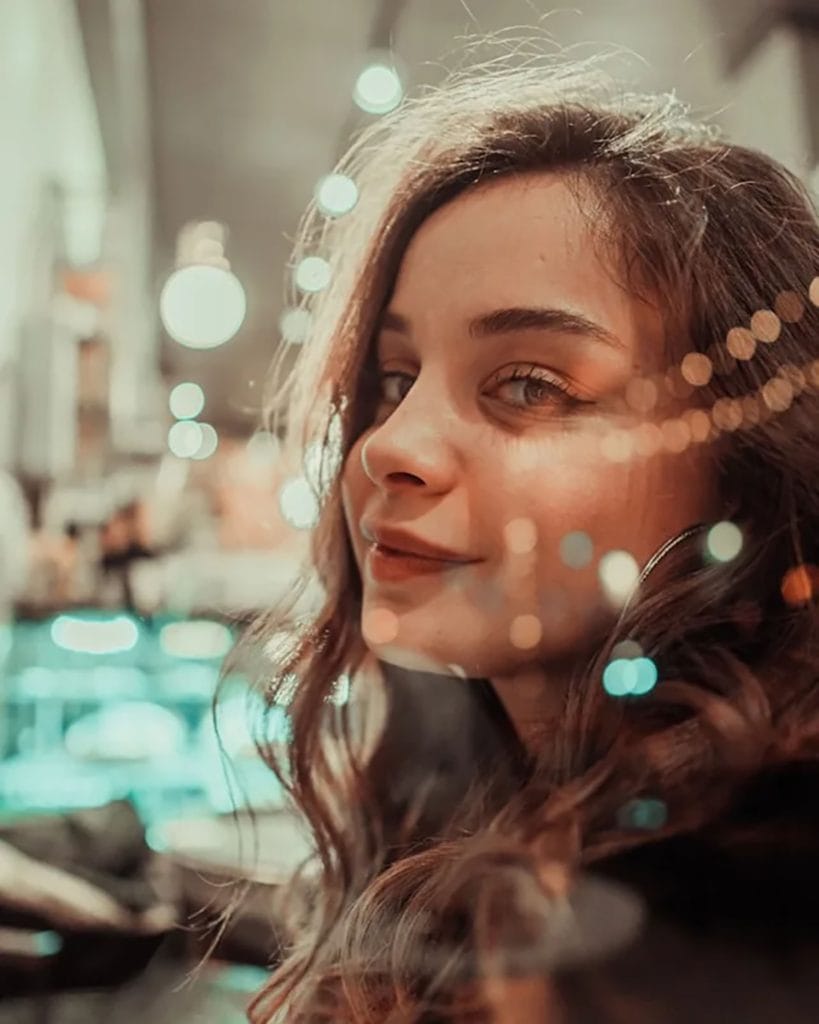
21) Create a Bokeh Effect
Bokeh refers to out-of-focus areas in a photograph that create a beautiful background blur.
To achieve bokeh in your self-portraits, use a lens with a wide aperture (f/1.8 or f/2.8) and position yourself in front of a background with small lights or reflective surfaces.
The result is a soft, dreamy portrait with glowing round shapes in the background, adding a magical touch to your image.
General Tips for Taking Self-Portraits
- Use a tripod and timer: A tripod will help you stabilise your camera and compose your shot exactly how you want it. Most cameras and smartphones have built-in timers – if not, you can either use a remote shooting phone app or a wireless/wired remote trigger, which will both offer a timed option.
- Consider your background: Pay attention to what’s behind you. A cluttered background can distract from the subject, so opt for a simple, clean backdrop or one that adds to the story of the portrait.
- Experiment with angles: Don’t be afraid to get creative with angles. Shooting from above can create a flattering look, while a low angle can make you appear more powerful. Try different angles to see what works best for the mood you want to convey.
- Edit your photo: Use photo editing software to adjust lighting, contrast, colour balance, and remove any imperfections. You can also experiment with filters or more advanced editing techniques like double exposure.
Thank you so much for reading this post! Let me know in the comments which tip you liked the most!