
Aesthetic Photography Secrets: How to Make Your Photos Look Amazing
Everyone can take a photo, right?
You simply hold up the camera and press a button.
However, taking a photograph that is considered beautiful can be a little more challenging, especially if you’ve never learned the basics of composition, lighting and colours.
Luckily, you can get a grasp of these basics pretty quickly, resulting in more aesthetically pleasing photos.
In this post, I will share my best tips for making your photos look more aesthetic.
Apply them in order to achieve more eye-catching, interesting and engaging images.
(Just so you know: This post contains affiliate links. As an Amazon Associate I earn from qualifying purchases).
How to Take Aesthetic Photos?
1) Study the Work of Famous Photographers
This may be an obvious tip, but to me, it’s the most essential one.
When I was studying photography, we discussed the work of many famous photographers from different genres, and analysing their work greatly improved my own photographs.
If you’re feeling overwhelmed, you can limit your research by only picking photographers in the genre that you’re interested in, for example famous street photographers or wildlife photographers.
Of course, visit exhibitions and museums whenever you can, but it’s even easier to get one or two good photography books and leaf through them to get inspired.
Here is a helpful book that teaches you about aesthetic photography and discusses what makes certain images stand out from the rest.
2) Get Familiar with the Rules of Composition
Sometimes, photographers simply get lucky with a gorgeous snapshot, but much more often, a beautiful image is the result of intentionally creating an interesting composition.
Luckily, learning how to compose a beautiful image won’t require too much effort – there are some simple guidelines that are easy to apply once you know them.
Here are some composition principles and tips:
Use the Rule of Thirds
The rule of thirds is one of the most well-known composition rules and results in interesting off-center compositions.
If you want to apply it, imagine your frame divided into thirds, both horizontally and vertically, creating a grid.
Then, place the subject or the most important element(s) at the intersecting points of this grid:
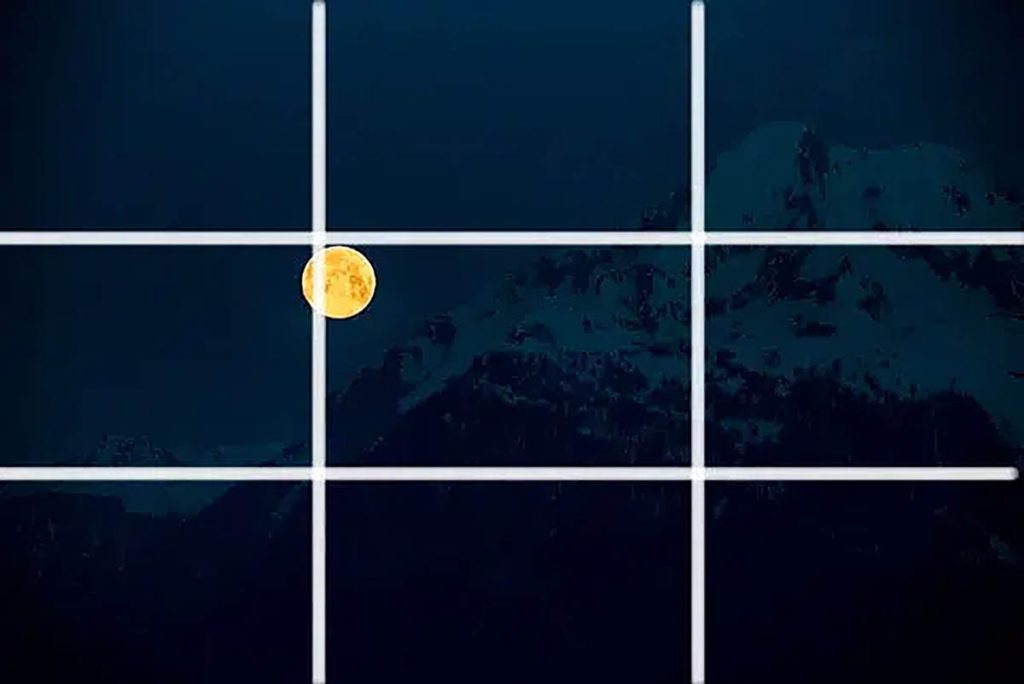
Here are some examples:
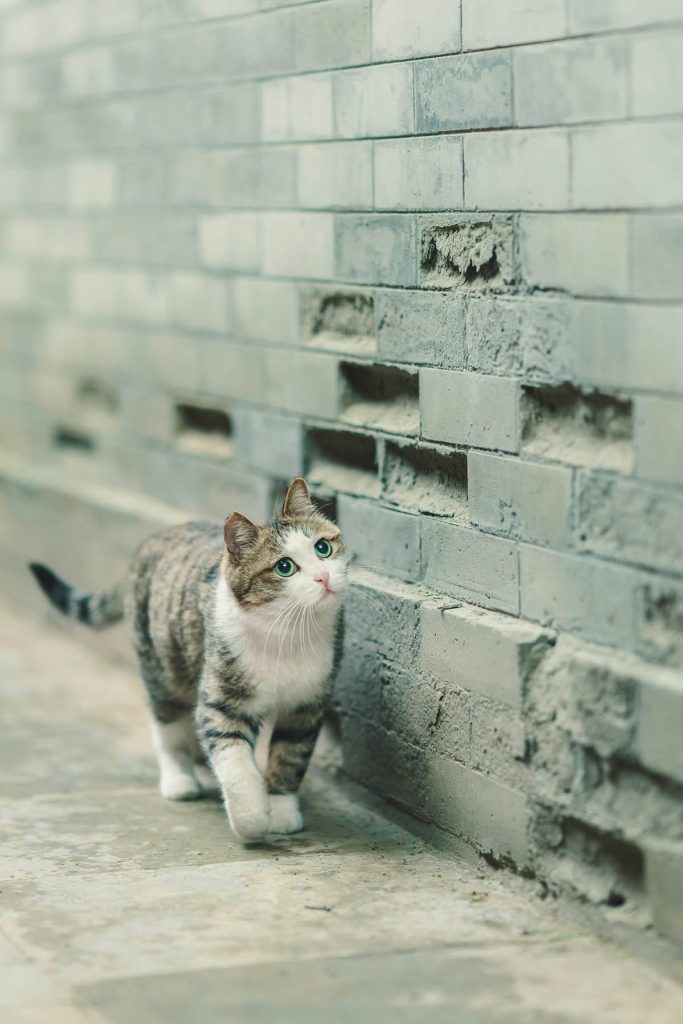

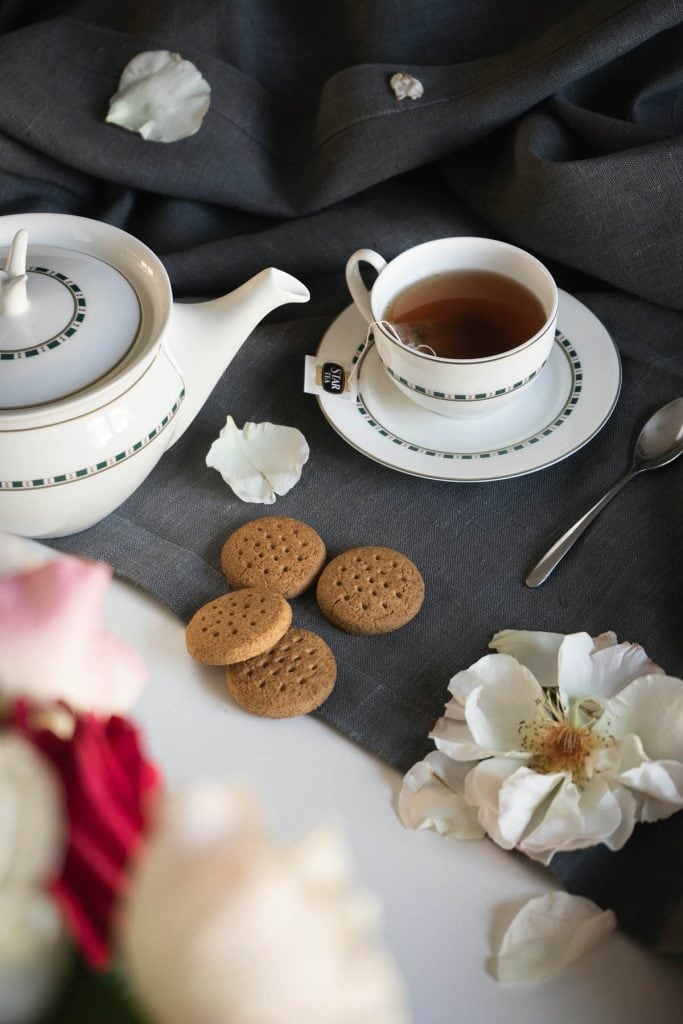
The rule of thirds works for any genre of photography.
I often use it in my self portraits by composing the image in such a way that my eye or eyes are roughly aligned with the grid line.
Look out for Symmetry
Another way to achieve a harmonious, aesthetically pleasing image is to use symmetry:
Try to create a picture in which some or all elements look the same and thus balance each other out.
Have a look at these examples:
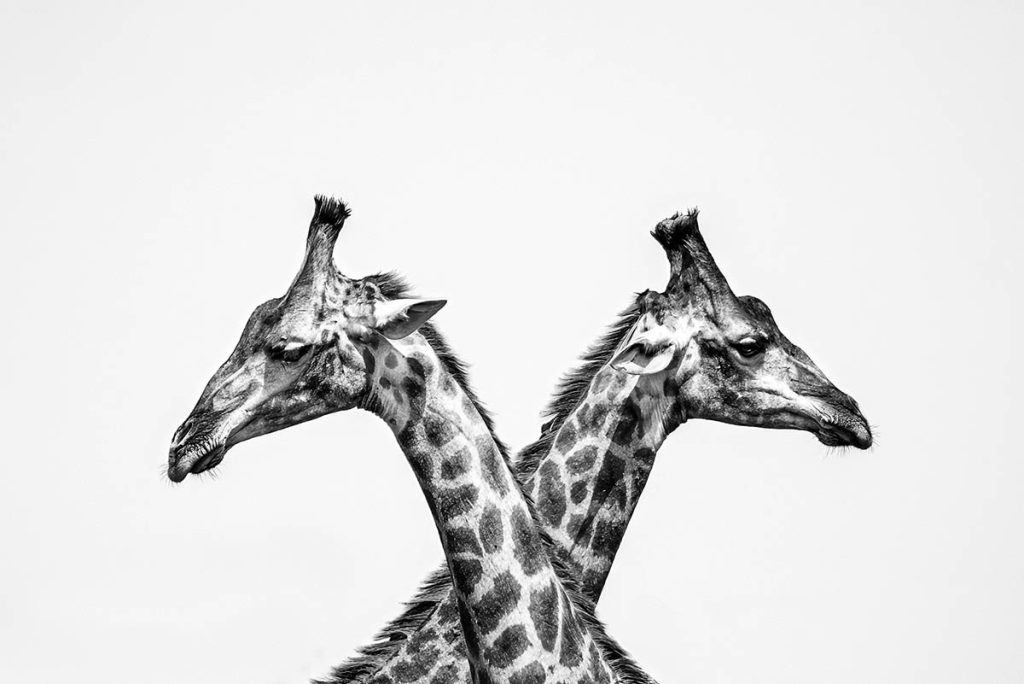
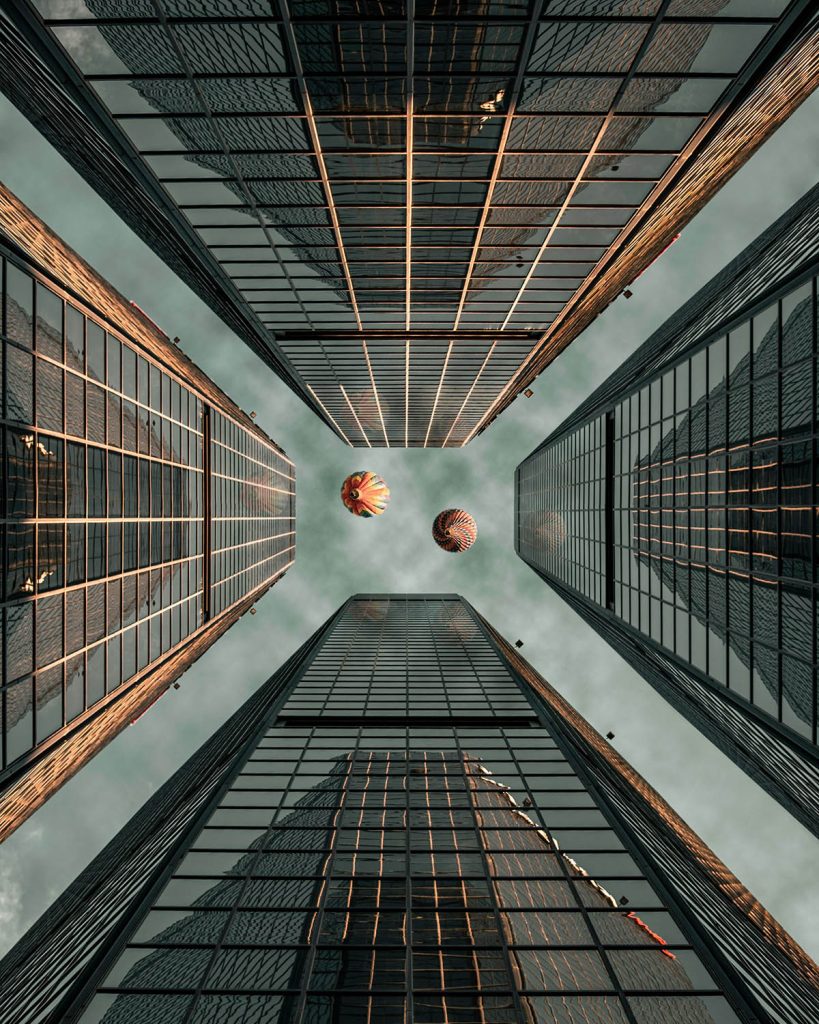
This type of composition works so well because the human brain loves symmetry – it’s very calming and harmonious.
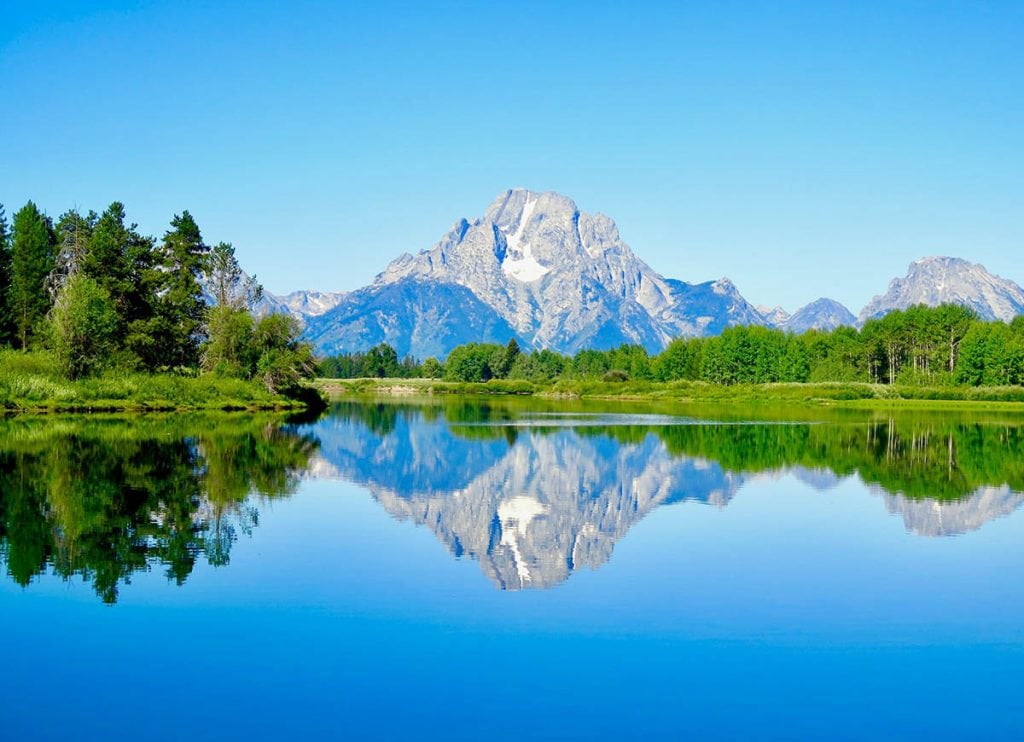
A nice way to create symmetry in your pictures is to look for reflections, either outside in puddles, lakes etc, or inside in a mirror or other reflective surface:
Use Leading Lines
My next aesthetic photography tip is to look for leading lines in your composition.
These are lines in the picture that lead the viewer’s eye from one part of the composition to another.
Here are some examples:
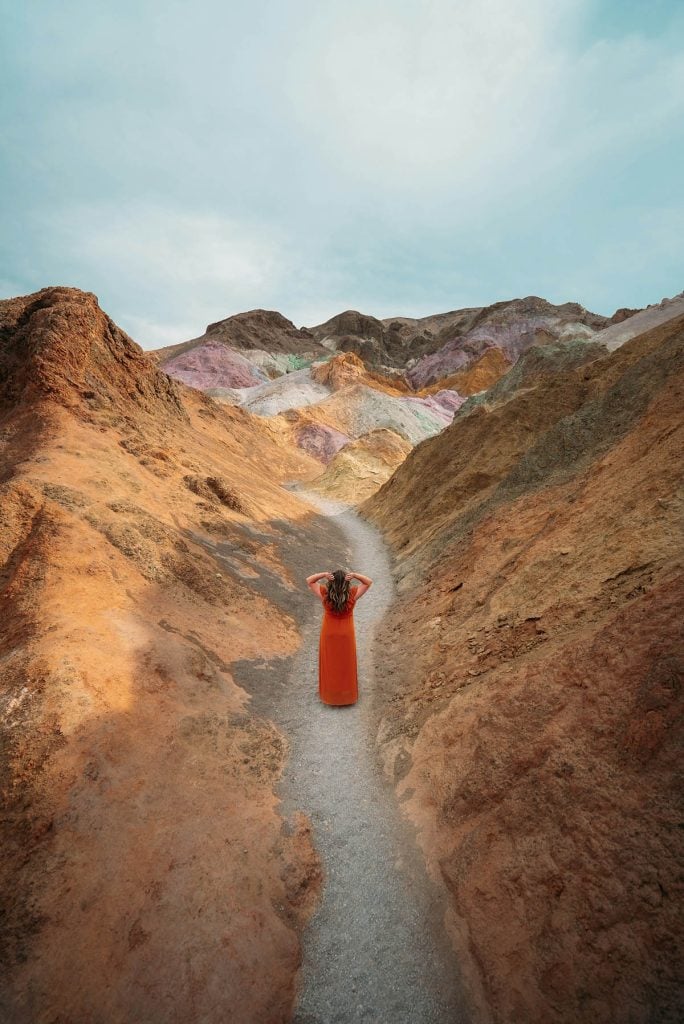

Leading lines are everywhere once you look out for them – for example railroad tracks, lamp posts, or architectural lines of buildings, rivers or bridges.
Use Negative Space
Negative space in photography refers to the empty or blank areas surrounding the main subject of an image.
It works so well because by including more negative space around the subject, you really emphasise it, drawing the viewer’s eye directly to it:
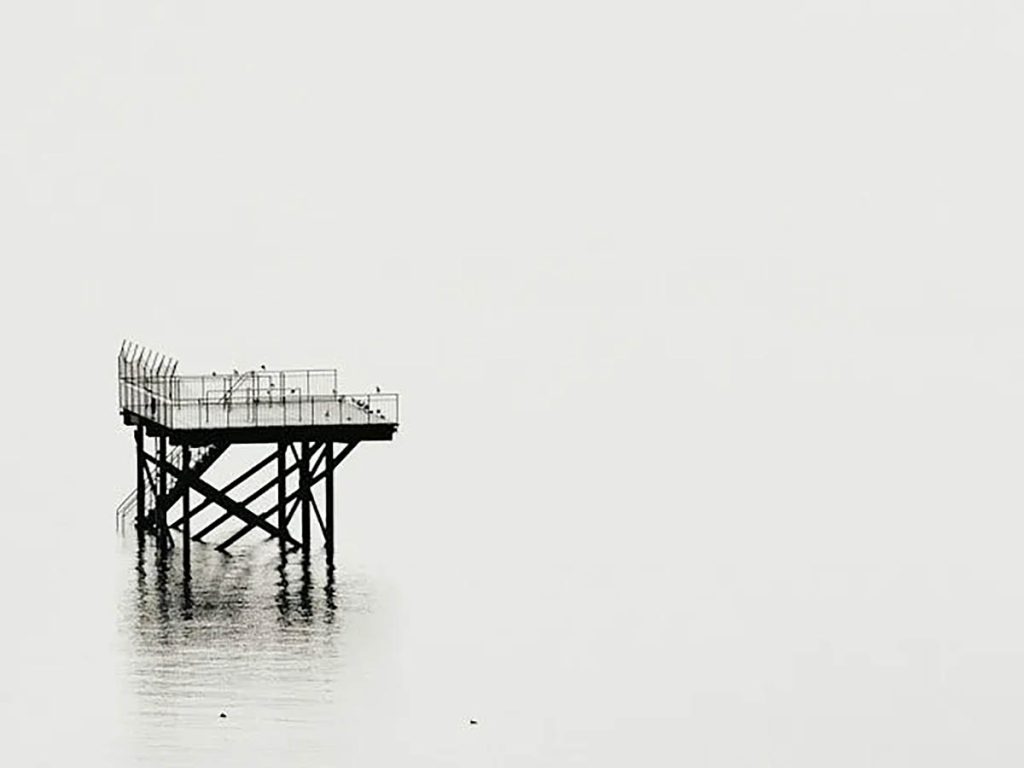
Negative space also creates a sense of balance and harmony.
You can even use it to convey certain emotions or moods in your photographs.
For example, using lots of negative space in an image can create a sense of calmness or loneliness, while filling up all available space may evoke the feeling of chaos or busyness.
Before I get to the next section…did you know I’ve published a free ebook with portrait photography ideas? Check it out below:
Free Ebook: 50 Portrait Photography Ideas
If you need fresh inspiration for your portrait photography, download my e-book which contains 50 creative ideas and projects for portrait photography.

…but now, back to the blog post.
3) Use Natural Light
Natural light is your best friend when it comes to creating aesthetic photography.
Here are some tips on how to use natural light effectively:
Pay Attention to the Time of Day
The best times to shoot with natural light are during the “golden hours,” which occur shortly after sunrise and before sunset.
During these times, the sunlight is softer and warmer, creating a beautiful glow in your images.
If you’re using window light, position your subject near a window with indirect sunlight for soft, flattering lighting.
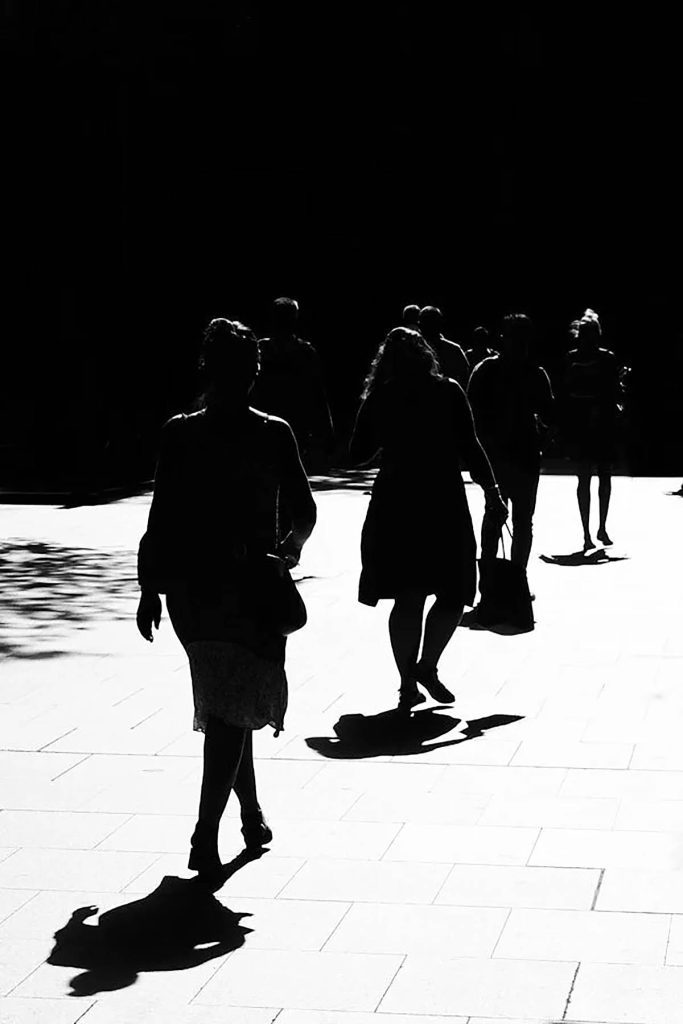
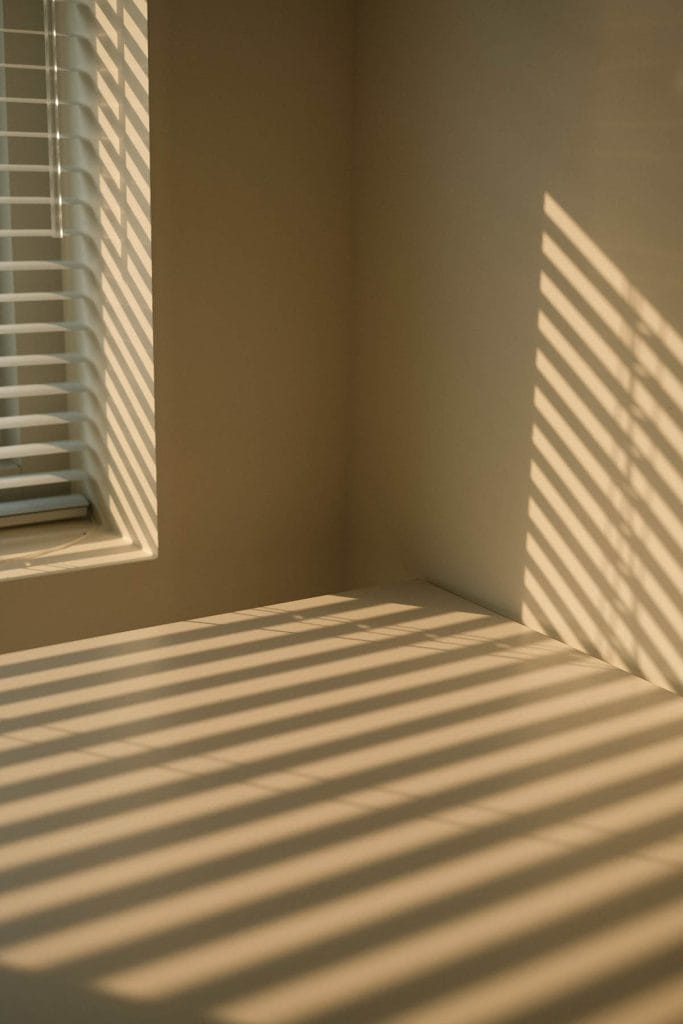
Work with Shadows
You can achieve beautiful photographs by making shadows the subject of your image.
Photograph on sunny days during noon for high contrast images like this one:
You can also look out for patterns created by shadows, e.g. from window blinds, leafs, flowers, etc. Here’s an example:
4) Recreate Photos You Like
My next tip for aesthetic photography is to recreate some photos you like – after all, copying the old masters is how art students learn their craft!
(Just bear in mind that you NEVER want to copy other people’s work for commercial purposes. This is just for educational purposes and must never be distributed as your own work).
To do this, find a photo you love on Instagram, in a photography book, a magazine, etc, and really study it:
- What is the composition? Where is the subject placed?
- What is the colour scheme? Are the colours saturated, pastel-like, flat,…?
- What is the shooting angle – straight on, from above, from below, etc?
- How is the photo lit? Was it taken outside? At what time of day (you can tell by looking at the shadows: long shadows = morning or evening, short shadows = around noon)
- Is the lighting even or uneven? Does it look hard or soft (hard light creates strong, defined shadows, soft light creates undefined shadows)
- Does it look like natural light or artificial light/flash?
Once you’ve made a note of the characteristics, recreate the picture (as far as you’re able to without a professional studio or lighting).
I love this method because you learn quite quickly how to light and compose a beautiful picture, plus it challenges you to create photographs in a different style than yours.
5) Use Filters, Presets, or Colour Grading
Think of those polished, highly aesthetic Instagram feeds where all the photos look as if they were shot by a professional photographer.
If you want to achieve that kind of pulled-together, harmonious look, you could either try using filters and presets or learn to colour grade your images yourself.
Filters
Pretty much any editing app or software these days offers a variety of filters you can apply to your photographs.
These filters adjust the saturation, contrast, colours, and other qualities of the picture with one click.
When using filters, I recommend you always lower the intensity, rather than using the filter at 100%, as this will give a more natural result.
Also, you can try combining several filters at low intensity for an individual look.
And by the way, if you’re using a DSLR or mirrorless camera, you can also buy physical filters that are attached to the lens.
These filters are great because they’re a cost efficient way to achieve beautiful special effects, such as a dreamy, soft focus look or a starburst effect.
My favourite are these soft focus filters which make every portrait look like it was shot in 1940s Hollywood.
Presets
If you’re using Lightroom, you may be familiar with presets.
These are colour grade templates that you can either create yourself or purchase from other photographers and then apply with one click to your photos.
You can find beautiful presets on market places such as Etsy, and they’re usually not very expensive.
However, long-term I recommend you actually learn how to colour grade images yourself because it’s actually not that difficult, and it will give you way more creative control and agency.
Learn Colour Grading
If you want to learn how to colour grade, have a look at this post where I share the basics of colour theory and using colour grading tools.
I’ve also created a YouTube video on the topic, you can watch it here.
6) Take a Photo of Something, not Everything
My next aesthetic photography tip is to do what I would broadly call:
“Take a photo of something, not everything”.
What do I mean by that?
Well, I think that what separates a mediocre photographer from a great photographer is that the latter shoots with intention.
They will not just take a random picture of a street scene with lots of details and no obvious subject because that kind of unintentional shot can be confusing for the viewer.
Instead, they will think about the “why” behind a picture and compose the frame accordingly.
Of course, you can’t always compose the perfect picture.
Sometimes, there will be that annoying lamppost in the corner that you simply didn’t spot while taking the photo.
Luckily, you can often fix a subpar composition in post production by cropping your image in order to remove distracting details (or removing them using the clone stamp or healing brush tool in Photoshop).
7) Add Grain/Shoot Film
I think that for a lot of people, “aesthetic photos” are photos that have that classic film photography look, and I would agree with them:
Film photographs have such a unique beauty thanks to the film grain and enhanced light and colour representation.
If you want to replicate that beautiful aesthetic, you can actually add grain to your digitally shot images to give them a gorgeous retro look.
Almost all photo editing tools will allow you to add grain.
In Photoshop, you can do so by navigating to Filter – Noise – Add Noise.
In Lightroom, you can add grain under the Effects tab in the Develop module.
However, in my opinion, nothing beats the aesthetic of shooting actual film, so why not invest in a film camera and have a go?
After all, you can buy secondhand film cameras really cheaply these days.
(I do recommend you buy them from a reputable secondhand camera shop though, rather than somewhere like eBay where you can’t tell if specific mechanisms or features are broken).
If you need a bit of help with shooting film, I’ve actually written a whole post about taking self portraits on film.
(It should be helpful for any photographer, even if you don’t shoot self-portraits).
8) Be Strategic about Colours
My last tip for more aesthetic photography is to really think about the colours of your images.
For example, you may want to make your photo monochrome on purpose by choosing clothing, props and a backdrop in the same colour.
Or maybe you opt for complimentary colours like red and green in order to create an aesthetic picture.
You can even think about colour psychology:
For example, taking a photograph of the ocean on a cloudy day when all the colours are muted and then putting a blue tint or filter over the image in Photoshop will create a melancholic mood, since blues and greys are commonly associated with sadness.
You can also think about whether you want the colours in your image to be saturated, bright and vivid or desaturated and pastel-coloured. (You can adjust this in your photo editor).
Try to really experiment with this to see which type of image you prefer.
If you do this often enough, you will eventually notice that you have certain preferences, and you can really develop your own style by sticking to a similar colour scheme or colour story in your photographs.
And that’s it! I hope you found these tips helpful! Make sure to leave me a comment if you think I’ve left anythgin out.
P.S.: Do you enjoy taking self portraits? Then check out my free self portrait ideas ebook below:
Free Ebook-50 Self Portrait Photography Ideas
Do you love self-portrait photography, but lack inspiration for your shoots? Then download my e-book with 50 ideas for self-portrait photography!
