
Have you been thinking about how to create the perfect home studio photography setup?
Then make sure to keep reading:
I was in exactly the same spot a few years ago, and after trying and testing lots of options for my home studio, I have found the best home photography studio setup, which I want to share with you today.
In this article, I will first talk about the essential equipment every home photography studio setup should include–the non-negotiables, so to speak.
I will then list additional gear and equipment to complete your home photography studio setup, split into two categories:
a budget version for anyone wanting to keep the costs low, and a deluxe version for photographers willing to invest a bit more.
Make sure to read until the end because I will also mention some additional items that are really inexpensive but have become indispensable in my home photography studio.
(Just so you know: This post contains affiliate links. As an Amazon Associate I earn from qualifying purchases).
I. The Non-Negotiables: Essential Equipment for Your Home Studio
1. Camera
It goes without saying that the most important item for your home studio photography setup is a camera.
Obviously, phone cameras are amazing these days, but if you’re serious about your home photography studio, you should definitely get a high quality DSLR or mirrorless camera.
I’ve tried a lot of different brands and camera models, and my favourite brand is Sony – their cameras have a brilliant autofocus system which means that all of my self portraits turn out super sharp.
Recommended starter camera:
Sony Alpha A6100 Mirrorless Camera
2. Lens
This may be controversial, but if you’re just starting out with your home studio photography setup, I think that you can get by with pretty much one lens only.
For example, as an art photographer taking self portraits, I almost always use my 50mm prime lens.
If you’re a portrait photographer just starting out with a home studio, you may want to get a 85mm lens, and if you do still life photography, one good 50mm lens may be all you need to begin with.
I suggest starting with the lens that came with your camera, usually a zoom lens, and adding only specific lenses to your kit that you need for your purpose.
3. External Hard Drive
It may surprise you to find this item in the essentials list, but I really do think it’s one of the non-negotiables.
The worst thing that could happen to you as a photographer is losing your images, so always make sure to copy photos straight away to your external hard drive before you do anything else.
Here’s a good external hard drive option for your home studio photography setup:
Maxone 500GB Ultra Slim Portable External Hard Drive
By the way…just a little interruption to say: Did you know you can download my free portrait photography ebook? More info below:
Free Ebook: 50 Portrait Photography Ideas
If you love portrait photography, but need some fresh inspiration, download my e-book which contains 50 creative ideas and projects for portrait photography.

…but now, back to the blog post!
II. Additional Gear and Equipment – Budget Version
1. Backdrop Stand + Clamps
No matter what kind of photographer you are – you will probably need a backdrop of some kind for your work, and I would highly recommend you get a basic backdrop stand and a few clamps.
You can then use all kinds of cheap materials as your backdrop, like curtains, fabrics or purpose-made backdrops from materials such as vinyl.
By the way: If you want to learn more about different backdrop stands and types, check out my previous post here.
I use a telescopic stand for my home studio photography setup. It’s very practical as you can adjust the width to your room size.
Get one here:
EMART Backdrop Stand Adjustable
2. Reflector
I love reflectors because they are very inexpensive and yet extremely effective, plus fold-up ones don’t take up much space at all.
Here’s a great starter version:
NEEWER Light Reflector Diffuser 5 in 1
Tripod
This was actually the first piece of gear I ever bought, and it’s definitely the one I use the most.
Get yours here:
VICTIV 74” Camera Tripod, Tripod for Camera and Phone
Studio Flash
No photography studio setup is complete without some studio lighting.
In the beginning, I really struggled with this, as I found lighting particularly confusing.
I started with some continuous lights, but I would advise against those now because they are actually not very powerful and will limit your options in terms of photo shoots.
I highly recommend you get at least one studio flash/strobe light. They really are not as intimidating as they seem!
Most flashes use the so-called Bowens mounting system, so make sure to buy accessories with the same mount (like softboxes etc).
These days, I have three studio flashes, and I use a wireless trigger on my camera hot shoe to trigger them.
I personally don’t use a light meter because I only take fine art photographs where the “right” exposure is kind of subjective anyway.
If you’re intimidated by light metres, don’t let that stop you from introducing a studio flash into your studio – again, maybe that’s a controversial opinion, as well, but I really don’t think you need a light metre for a basic photography studio because as long as you’re shooting in RAW, you can easily correct any kind of exposure or white balance issues in Photoshop, anyway.
If you want to learn all about artificial lighting in photography, make sure to read my previous post on the topic.
Here’s a good studio flash starter option:
Godox DP400III-V Upgraded Studio Flash Light 400W
5. One or Two Light Modifiers
In addition to your studio flash, I would recommend you get at least one modifier like a soft box, a beauty dish or an umbrella.
I started out with a small beauty dish which is actually surprisingly versatile.
If you want to take mostly portraits or self-portraits, I would recommend a softbox as it is so universally flattering.
One tip for your home photography setup is to get something that`s easy to set up and take down, like this softbox I recently got.
My home studio is actually in my living room, so I have to always take down all the equipment after use, and I’ve learned the hard way that those very cheap softboxes you can buy that have lots of fiddly metal rods to set up will take a long time to dismantle.
As mentioned, make sure to get the right mount matching your flash – I use Bowens mount equipment as there is a large range available.
Recommended light modifiers (Bowens mount):
Godox 16.5inch/42cm Silver Beauty Dish Bowens Mount
Triopo 35.4inch/90cm Parabolic Softbox with Honeycomb Grid
6. Some Tools to Reduce Light
I often use light blocking modifiers in my art photography photoshoot setup if I want to create more reduced, moody lighting.
A great option is a honeycomb grid for your softbox, which will reduce light diffusion, or you could even use black cloth or curtains to block out light where you don’t want it.
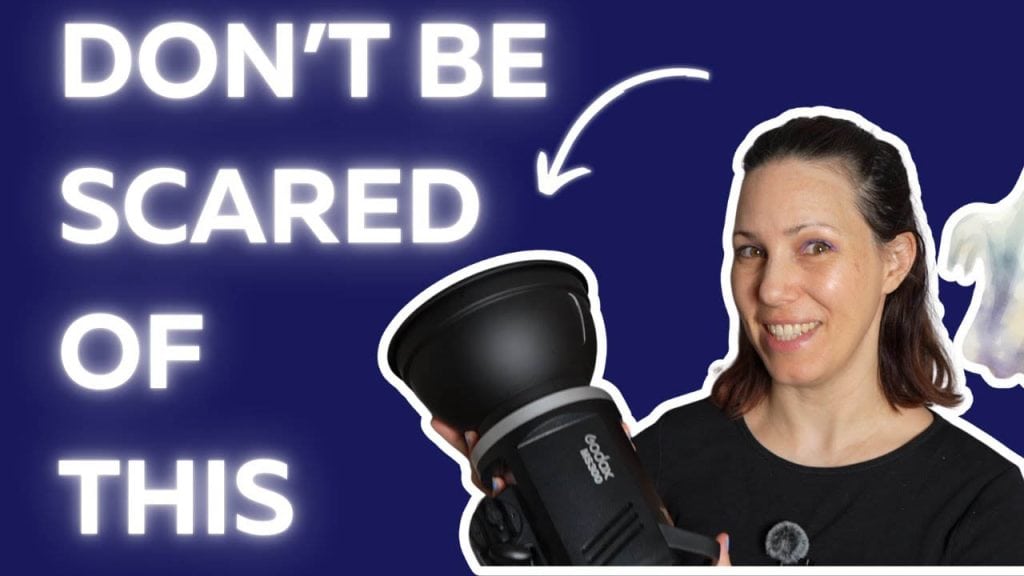
If you’re a bit confused by all these lighting options, you can watch my video on artificial light in photography here:
III. Additional Gear and Equipment – Deluxe Version
Are you ready to upgrade your home studio photography setup?
Then you may want to consider getting some of the following items:
1. Full Frame Camera
If you’re serious about your photography, I recommend you invest in a full frame camera for better print quality.
(Read about the difference between full frame and crop sensor here).
As mentioned before, I’m a huge Sony fan because the autofocus is so reliable.
Here’s the Sony camera I use – I think it’s the best camera I’ve ever had because it has a huge range of features and delivers crisp, super sharp images:
Sony Alpha 7IV Full Frame Camera
2. Extra Lenses
If you want to upgrade your gear, you can also invest in some additional/higher quality zoom and prime lenses.
I personally love my 50mm prime lens because it allows me to create a beautiful shallow depth of field.
3. One or Two Additional Studio Flashes/Flashgun
Again, make sure these have the same mount system as your softboxes or modifiers.
Investing in a second and now even a third studio flash has been really useful for my home studio photography setup because I have a lot more lighting options, and I can create different effects.
Make sure to also get one or two more light stands to go with the flashes.
4. Reflector Stand
This will save you a lot of headache!
If you worked in a professional photography studio, you would of course have an assistant to hold the reflector, but in a home studio, you’re usually the one having to do everything, so a telescopic reflector holder can be a godsend.
Buy yours here:
Fotoconic Multi Functional Reflector Holder, Boom Arm
5. A Wider Selection of Modifiers
If you only have a beauty dish, for example, perhaps get one rectangular softbox and one larger octagonal or round softbox for portraits.
I personally have one small beauty dish, one medium-sized softbox and one large softbox, and I find that is definitely enough for my purposes at the moment.
6. A Second Battery
…very helpful so you can keep shooting and don’t have to take a break for charging your battery!
7. Some Lens Filters
It’s always worth investing in some lens filters that create special effects, eg a soft focus filter for beautiful portraits.
8. Coloured Gels
I love coloured gels – you can mount them in front of your studio flashes or regular table lamps, floor lamps etc to create coloured light which looks very cinematic.
9. Wall-Mounted Backdrop System
If you like using backdrops, you could invest in a wall-mounted backdrop rail with different colour backdrops that you can simply roll up after use – very handy for small spaces!
Here’s a good option:
Photography Backdrop Wall Mount 3 Roller Support System
10. Boom Arm with Counterweight
When I first started out with my photography studio, I simply used a normal light stand with my small studio flash mounted on top and never had problems with it.
However, when I bought the (heavy!) XXL softbox I now use from time to time, I also got a counterweighted boom stand to make sure that the flash wouldn’t topple over.
They are slightly more expensive than regular stands, but an absolute must for working safely.
Neewer 2-in-1 Photography Light Stand/Heavy Duty Tripod Stand
11. Special Effects Lighting
If you enjoy creative or arty photography, you can also look into getting some extra lights like a UV fluorescent lighting bar or a sunset lamp that will create different effects in your photos.
12. Monitor Calibration Tool
Use this to make sure your colours are accurate when editing (this is especially important for true colours in printing).
IV. BONUS TIP
And finally, I did promise you to give you my very special tip for an indispensable item in my photography home studio setup, and that is…my special effects box, as I like to call it!
I’ve noticed that over the years, I’ve often wanted to create special effects like tears, sweaty skin, etc. That’s why I now always have some glycerin (for fake tears, sweat drops, dewy skin) and some vaseline (for a beautiful skin sheen) in my kit.
By the way, sometimes I also use Vaseline on a UV filter to create a soft blur in my images (I use the UV filter so I don’t have to put Vaseline directly on my lens).
You can also create a “prop box” with useful items like tape, wire to attach things, wigs, interesting looking items from flea markets etc. – you never know when these might come in handy.
Hopefully now you know more about how to create a photo studio at home and what items you need for a photo studio setup. If there’s anything I’ve missed out, please leave me a comment and let me know so I can add it to the list! 🙂