
Creative self-portrait photography is one of the best ways to grow as a photographer:
You can experiment in the comfort of your own home, without needing to book a professional model.
I have been taking self portraits for many years now, and I love how it makes me figure out new techniques and pushes me to expand my technical skills.
However, doing photo shoots can be expensive if you constanly have to buy new props or outfits.
In addition, it’s sometimes hard to come up with new concepts or shoots if you’re feeling uninspired.
That’s why, for today’s blog post, I have rounded up the best props for creative self portrait photography.
You will already own most or all of these, meaning it’s a low cost way to inject new life into your self portrait photography.
Also, some of these props double up as handy tools for achieving a specific technique, like flares or blur.
Read on to discover which household items you can integrate into your self portraits today!
1. Mirrors
My number one household tool for creative self portrait photography is a mirror, for many reasons:
Firstly, it’s super helpful for beginner self-portrait photographers since it allows you to photograph your reflection while holding the camera, meaning you don’t need to trigger the shot remotely.
Next, it allows for unusual, creative compositions:
You can include yourself, your reflection, or both in the frame.
You can also play with different angles and viewpoints for unique effects like in this image:

Image Credit: Tania Calderon.
Next, you can use the mirror as a storytelling device, revealing certain elements or surprising details in the reflection.
Someone who did this masterfully is the painter Velàzquez in his famous artwork Las Meñinas, below:

Image Credit: Diego Velázquez, Public domain, via Wikimedia Commons.
You can use any mirror you have at home, whether it’s a large bedroom mirror, a small hand mirror, or even a compact mirror.
Tip: If you’re trying to photograph your reflection in the mirror, you may have to use manual focus, as the autofocus sometimes struggles with that.
2. Fairy Lights
Fairy lights are one of the most versatile and visually interesting props you can use in creative self portrait photography!
The best thing is that almost everybody has at least one at home already.
Fairy lights are perfect for photography because they add instant atmosphere, depth, and a dreamy glow.
A great way to use fairy lights in creative self portrait photography is to wrap them around yourself, letting them illuminate your face and body.
This technique works really well in low light, so try shooting at dusk or in a darkened room.

Image Credit: Ethan De Long.
Another approach is to hold the lights close to the camera lens while keeping your face in the background.
Combined with a wide aperture, this creates a lovely bokeh effect (shallow depth of field), where the lights appear blurred and dreamy.
You can also place the fairy lights in the background to create texture by hanging them over headboards, curtain rods, or wall hooks.
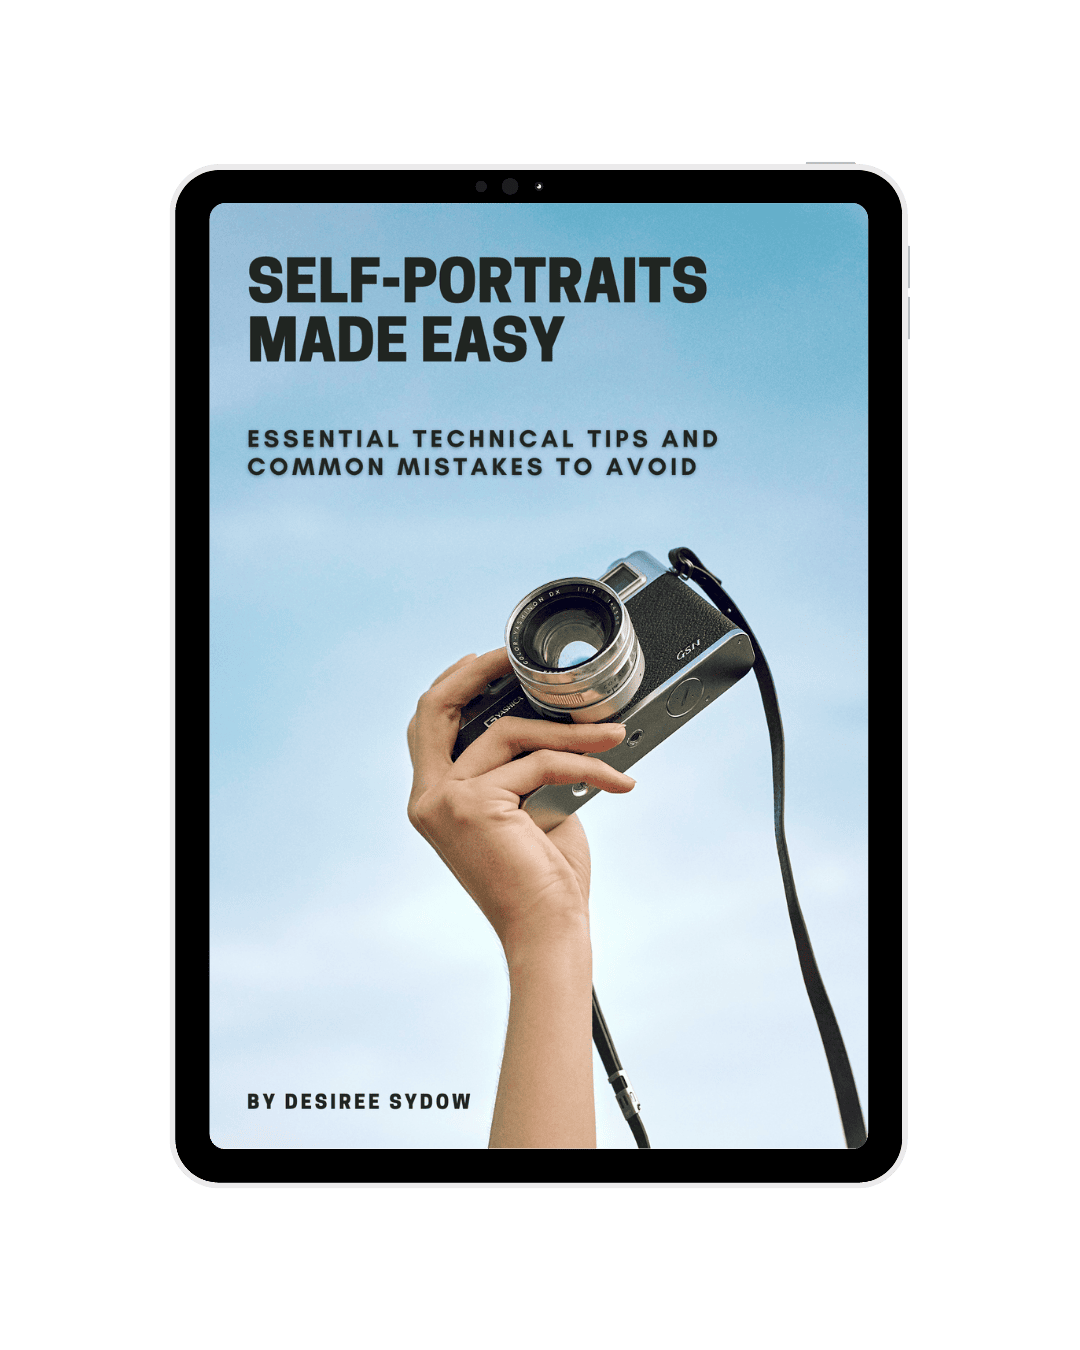
By the way…if you need help with the technical aspects of self-portrait photography, such as focusing on yourself or triggering the shutter remotely, download my free guide with all the essentials:
Free Ebook: Self-Portraits Made Easy
If you love taking self-portraits but struggle with the technical aspects, download my free guide with essential self-portrait photography tips and common mistakes to avoid.
…but now, back to the blog post!
3. Crystal Wine Glass
The next great item for creative self portrait photography is a crystal wine glass or any other faceted glass object.
Hold the glass in front of the camera lens to achieve ethereal, dreamy flares like in this image:

Tip: This works particularly well if you use directional light (non-diffused light), with the light source placed slightly behind the subject, facing towards the camera.
4. Fabric
Next, fabric is an amazing prop for your creative self portraits!
You can use it in lots of different ways:
Diffused Light
In a professional studio, photographers use tools like softboxes to diffuse light and make it more flattering.
You can recreate this effect at home using thin white fabric like nylon (shower curtains are great!), polyester, or silk.
Simple hang or drape the fabric over your light source to make the light more even and minimise harsh shadows on the skin.
Important: Be careful not to use a light source that emits heat; ideally, use an LED light which remains cool.
Coloured Light
Instead of buying expensive coloured gels for your lights, you can use sheer or translucent coloured fabrics to tint your light.
Try materials like coloured chiffon, organza, or even thin scarves.
Simply place the fabric between your light source and your subject for a soft, coloured glow similar to this picture:

Image Credit: Klara Kulikova.
For more interesting effects, try layering different-coloured fabrics to mix hues.
Or try using multiple light sources with different coloured fabrics in front of each to create overlapping coloured shadows on your subject or background.
Finally, you can stretch coloured fabric tightly over a flashlight or LED panel and secure it with a rubber band or tape.
This creates a portable filter that you can use to add coloured highlights or accents on your face or body.
Playing with Hiding and Revealing
Fabric is also a great tool for playing with hiding and revealing certain elements in your self portrait.
You can hand or drape the fabric over objects or around you and only show certain parts of your face and body.
Here’s an example:

Image Credit: cottonbro studio.
Fabric as a Costume
Finally, one of the most creative ways to use fabric in self-portrait photography is to wear it as a costume.
A single piece of fabric can become a flowing dress, a dramatic cape, or a structured headpiece.
Drape it around your shoulders, wrap it around your body, or tie it into knots and layers to build shape and texture.
You can use pins, clips, or even tape to secure it (out of frame if necesssary).
Also, keep in mind that diffeerent textures and colours can represent different moods or narratives.

Example of using fabric as a veil. Image Credit: Kristina Nor.
For example, sheer white fabric can suggest innocence, vulnerability, or spirituality; red or purple velvet can feel mysterious, regal, or gothic; silvers and metallics can look futuristic, and so on.
Tip: You can even stiffen fabric with starch spray or wire to create dramatic shapes.
5. Plants and Flowers
Another fantastic prop for creative self-portrait photography is flowers and potted plants.
I often use flowers in my photo shoots to convey femininity, create a certain mood, or simply add a pop of colour.
Here’s an example:

Self portrait with flowers (taken with a scanner).
Using Fresh Flowers
You can incorporate individual cut flowers or a whole bouquet.
Use whatever flowers you have at home/in your garden, or choose specific flowers based on their meaning and symbolism.
Here are some examples:
- Cherry blossom: transience, beauty, renewal, fleeting nature of life
- Rose: love, passion, and beauty
- Sunflower: positivity, warmth, loyalty, and adoration
- Lily: purity, transformation, renewal
- Daisy: innocence, simplicity, childhood, new beginnings
- Hibiscus: delicate beauty, femininity, warmth
- Lavender: calm, peace, serenity
- Marigold: grief, remembrance, resilience
- Lotus: enlightenment, rebirth, spiritual purity
- Orchid: beauty, strength, refinement.
Shadow Patterns
Next, you can use flowers or potted plants to create delicate shadow patterns on your skin like in this image:

Image Credit: Anna Nekrashevich.
To achieve this, it’s best to use strong directional light; ideally, natural sunlight during golden hour.
You’ll want to use backlighting or side-lighting to cast crisp, defined shadows, so position yourself either in front of or at an angle to a window.
Choose plants with distinct, recognisable shapes, e.g. ferns, palm fronds, laceleaf, or eucalyptus.
You can also go for more intricate, lace-like patterns by using delicate leaves with holes or cutouts, like monstera or lace fern.
You can either hold the plant close to your skin or place it between you and the window.
The closer the plant is to your skin, the sharper the shadow will be.
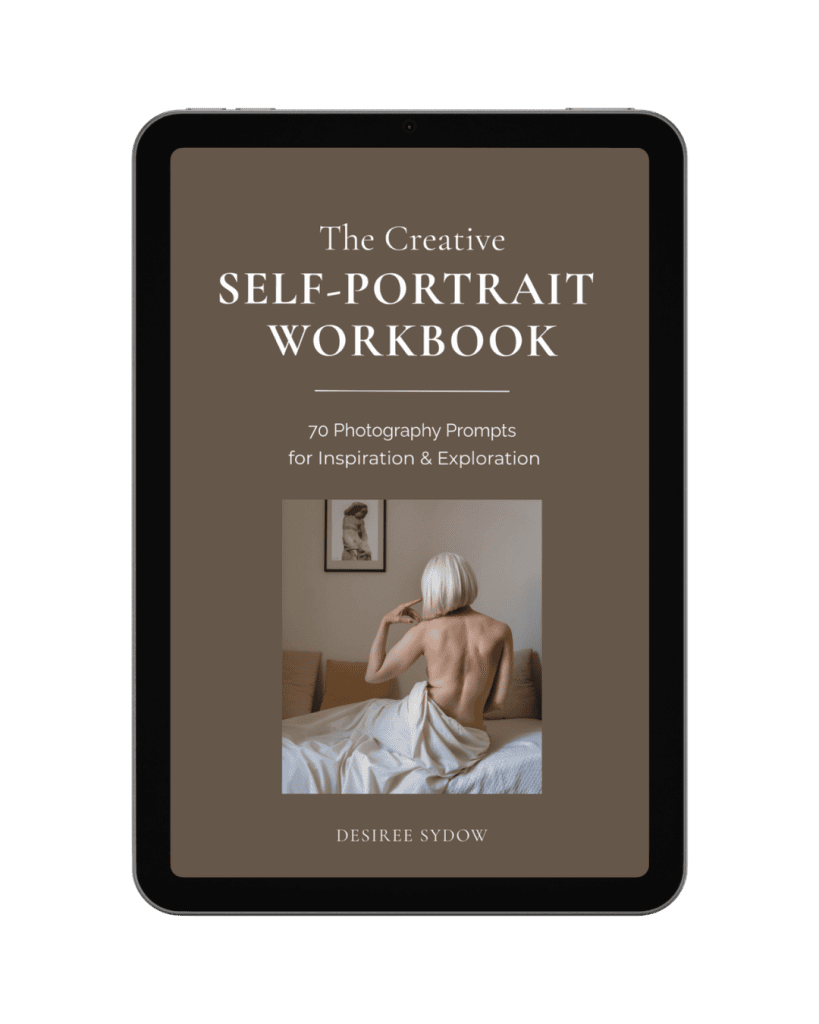
Just a quick interruption to say…I’ve published a comprehensive photographer workbook which contains 70 inspiring self portrait photography prompts.
It goes way deeper than this blog post, introducing different approaches to self-portrait photography coupled with reflection questions and technical tips and tricks. Check it out below:
Get Fresh Inspiration For Your Self-Portrait Photography
Discover new ways to approach self-portrait photography through creative prompts exploring symbolism, storytelling, painterly techniques, mixed media, and emotion.
…and now, onto the next prop!
6. Pantyhose/Vaseline
Have a look at the following image which is shot using a soft focus effect:

Self portrait shot using Vaseline on the lens filter.
There are actual soft focus filters you can buy that will give you this effect.
However, if you have a pantyhose or a tub of Vaseline at home, you can make your own DIY soft focus filter.
Either pull a nude or black pantyhose over your lens and secure it with a rubber band so that the fabric is taught; or dab a bit of Vaseline onto a transparent lens filter, e.g. a UV filter, and screw it onto your camera lens.
Both these household items manipulate the light hitting the camera sensor, creating a dreamy, hazy effect reminiscent of old Hollywood films.
If you love this ethereal effect and want to learn more about it, check out my previous post dedicated to the topic.
7. Fan or Hair Dryer
Another fun prop you can play with is a fan or hair dryer.
Aim the airflow towards your face or hair to create a natural, windblown look, which is perfect for adding drama or a sense of spontaneity.
A small desk fan is a great choice because it gives you steady air flow and you don’t have to hold it.
Otherwise, try a hair dryer (just make sure to use the cool setting!).
Combine the fan/hair dryer with flowing fabrics, scarves, or even paper for more motion in your self-portrait.
To amplify the effect, you can shoot with a slow shutter speed to capture motion blur; try shutter speeds in a range of 1/30 sec and 1 sec.
8. Laundry Basket/Sieve
Another fun tool for creative self-portraits is using a laundry basket or sieve to create patterned shadows on your skin.
What makes baskets and sieves so interesting is that they cast very even, geometrical shadows, giving you a cool graphic effect in your image.
For best results, position yourself near a strong light source, for example natural sunlight from a window.
Then, hold the sieve or basket between the light and your face, angling it until you see interesting shadows fall across your skin.
You can experiment with the distance and tilt to manipulate how sharp or soft the shadows appear.
This tip works especially well for moody, editorial-style self-portraits.
Combine it with a clean background and monochrome tones to enhance the geometric shadows even more.
I promise to keep this blog completely ad-free so you can read without distractions. If you want to support my work, buy me a coffee: It’s a small gesture that makes a big difference!
9. Soap Bubbles
Next, if you have a tube of soap bubbles lying around somewhere, incorporate it into your next creative self portrait shoot!
Bubbles give your image a dreamy, magical quality and show beautiful reflections if they catch the light.

Image Credit: cottonbro studio.
When using bubbles, use natural backlighting or side-lighting to make the bubbles reflect the light.
You’ll also want to shoot with a fast shutter speed (1/500 or higher) to freeze the bubbles mid-air (if your camera has burst mode, this will also be helpful here).
Alternatively, use a slower shutter speed (1/60–1/125) for gentle motion blur.
10. Baby Oil/Glycerine
Baby oil and glycerine (often found in the baking section in your local supermarket) are two very popular items with photographers:
Both can be used to achieve “special effects” in your photos:
Baby oil is great for giving your skin a dewy, glossy look that enhances highlights.
Glycerine is slightly thicker and more gloopy than baby oil; I usually mix it with a little water.
You can then use it to mimic sweat, tears or a fresh, glowing complexion.
I’ve used glycerine in this picture, where I wanted my skin to look a little sweaty and moist:

You can also use glycerine on surfaces like glass or mirrors to create “wet look” or rain effect smears or drops.
Simply spray a mix of water and glycerine onto a sheet of glass or acrylic.
Use this in combination with backlighting or sidelighting to highlight the texture and reflections.
I hope you found these tips for DIY photo shoot props and hacks useful.
Leave me a comment and tell me which tip you liked the most!
And finally…check out my other free ebook with 50 self portrait ideas:
Free Ebook-50 Self Portrait Photography Ideas
Do you love self-portrait photography, but lack inspiration for your shoots? Then download my e-book with 50 ideas for self-portrait photography!

Love those ideas, will def try some of them, thank you!
Oh great, so happy you like the ideas! Thank you for your comment 🙂