
5 Creative Photography Techniques That Helped Me Break Out of a Rut
My creative routine goes something like this:
Intense bursts of activity for a few days or months, then several weeks or months of complete inactivity.
That’s because I regularly go through intense phases of not feeling inspired at all–it’s like a light goes out.
Every time I’m in one of those inactive periods, it feels like I never want to create again, and I’m completely uninspired…
Until I see something in a museum, try a new technique, or get some other fresh input, and the cycle begins all over again.
One of my last uninspired periods was this summer, but I managed to overcome my creative block by trying five different creative photography techniques that really got me back into “making mode”.
In fact, they were so effective that I decided to share them with you in this blog post.
So, if you’re a photographer in need of some fresh inspiration, read on to find out which creative photography techniques can help boost creativity and kick you into gear.
Go Abstract/Experimental
This approach has been so fun for me, as it really encourages experimentation and, most importantly, having fun.
In abstract photography, you’re not trying to capture a recognisable subject.
Instead, the focus is on exploring how light, colour, and form can create something unexpected.
Here’s an example of an abstract portrait:

Image Credit: Efren Ftz.
I’ve found this shift away from documenting the world very liberating, especially when stuck in a creative rut.
Regular photography, especially commercial photography, can be very much about rules and technical settings, like choosing the right aperture or getting the focus right.
In turn, abstract/creative photography techniques give you a lot of freedom, as you don’t need to concern yourself at all with such limitations.
Practical Ideas to Try
For this approach, you can start playing with everyday objects, e.g. a plastic bag, a prism or a piece of crystal glass in front of the lens.
These kinds of objects distort, diffuse or bend the light, creating unusual flares or shapes.
Read more about this technique in the dedicated blog post here.
Another technique I love is applying a thin layer of Vaseline around the edges of a lens filter.
This gives you a soft, dreamlike blur and a very painterly, magical effect.
I’ve actually written a whole blog post about dreamy creative photography techniques; you can find it here.
Next, you could try motion blur; either use a slow shutter speed or deliberately move the camera during the exposure.
This will you give a result similar to this self-portrait, where I used a slow shutter speed (as well as Vaseline on the lens filter):

What makes abstraction so powerful is that it shifts attention from “what” you are photographing to “how” you are seeing.
By focusing on shapes, colours, and textures rather than meaning, you create very artistic effects that are such a nice change to traditional photography.
When you give this approach a go, try to keep an open mind:
Grab any weird object you can find at home and hold it in front of the lens; play around with your camera’s manual settings, and just see what happens.
It may take some trial and error to get a good picture, but when you do, it can feel so rewarding!
Just a quick interruption to say…do you like taking portraits? Then check out my free ebook below:
Free Ebook: 50 Portrait Photography Ideas
If you need fresh inspiration for your portrait photography, download my e-book which contains 50 creative ideas and projects for portrait photography.

…but now, back to the blog post!
2) Try Mixed Media Photography
Another really exciting way to overcome creative stagnation is to experiment with mixed media photography.
What Is Mixed Media Photography?
Essentially, mixed media photography combines photographs with other forms of art, such as drawing, painting, collage, or digital layering.
I discovered mixed media photography after taking this course by photographer and artist Danny Bittencourt.
In it, she shares non-traditional approaches to photography, like manipulating photos with water, glue, fire, mould, bleach, etc.
I’ve since tried mixed media photography on several occasions, and it always feels like a fresh breath of air because it offers so many creative possibilities:
For example, you could print a photo and then add watercolour to completely change the emotional vibe or aesthetic or to give it a more artistic look.

Mixed media photography by Giovanni Calia.
Another technique is cutting and collaging prints, combining the fragments into unexpected or even surreal compositions.
Even something as simple as drawing geometric lines or scribbles on top of a photo print can completely transform a regular landscape or portrait image.
You can also use paint, glue or other materials to add or emphasise details on your print, as I’ve done here:

A self-portrait to which I added gold details with acrylic paint.
Next, you can add fabric to your image by stitching, embroidering or weaving onto/into it; you could even cut the print into strips and weave those into new compositions.
Once you’ve finished your physical mixed media artwork, you can either use it as is or scan it in/re-photograph it.
Digital Mixed Media Photography
Of course, you don’t have to print out your photo for a mixed media look; you can also transform it using editing software, as I sometimes do in Photoshop.
For example, you can add textures (sourced from free stock libraries like unsplash.com) or scanned materials, playing with blend modes and opacity to get artistic results.
Have a look at this photograph:

To get the black spill effect, I added a photo of an oil spill in Photoshop, then used a few different filters (find them in Filters>Filter Gallery).
I also used the “Bevel and Emboss” effect to give the oil spill a three-dimensional look, emphasised by white highlights I added using the Brush tool.
Another technique is digitally hand-drawing onto your photo (I like to do this in Procreate on my iPad).
There are even more mixed media techniques you can try:
I’ve written a dedicated post on mixed media photography, so make sure to check it out if you want to dive deeper into the topic.
What I love most about mixed media photography is that it focuses a lot on process rather than outcome.
Hence, it’s less about capturing a perfect shot in-camera and more about playing and experimenting with the image afterwards, seeing what else it can become.
I promise to keep this blog completely ad-free so you can read without distractions. If you want to support my work, buy me a coffee: It’s a small gesture that makes a big difference!
3. Work With Minimal Light
Next, an approach that massively helped me rediscover my creativity was working with minimal light.
In a way, this goes against what photographer teachers will tell you:
When I first studied photography, it was all about achieving “the right exposure” with balanced lighting and a well-lit subject.
However, this can sometimes become pretty boring, so I went the opposite way:
Instead of using natural daylight or artificial lighting setups, I began experimenting with whatever small sources of light I had on hand: household lamps, fairy lights, light falling in from the street, or candles.
This limitation immediately shifted the mood in my self-portraits and made me think more carefully about shadows and atmosphere.
What was quite surprising to me when trying this approach was how little light you actually need to create an interesting photograph.
Have a look at this self-portrait, where I used a small light source placed at an angle behind me:

Unlike bright, even lighting that reveals everything, minimal light can be great for creating mystery or atmosphere, creating a cool cinematic effect.
Minimal light also works really well for experimenting with colour temperature:
A warm bulb creates golden tones reminiscent of candlelight, while a cool LED gives a harsher, more modern look.
For example, look at this image that I shot using a small reading lamp with a very yellow, warm light:

Practical Tips for Low Light Photography
When working with minimal light, it’s important to get the camera settings right:
Keep your ISO setting higher (e.g., 400-800) to capture enough detail.
However, don’t go too high if possible to avoid noise or unwanted colour shifts.
Next, use a wide aperture (f/1.8–f/2.8), which allows more light into the lens.
A nice side effect: this will create a shallow depth of field and enhance the mood.
Finally, use slower shutter speeds if possible (ideally, place your camera on a tripod or solid surface to avoid blur).
4. Get Creative With Flash
Flash is often thought of as a purely functional tool–a way to brighten a dark room or freeze motion.
However, flash can also be used as a fun creative tool, and this was another technique that really helped me break out of my creative rut.
In general, flash is a very hard type of light, creating harsh and often unflattering shadows.
Additionally, it can flatten perspective, cast strong shadows, and bring out details that are usually softened by natural light.
Many people may see this as a flaw, but this typical flash aesthetic has a raw quality reminiscent of street and fashion photography from the 1990s.
Using flash, you can give everyday subjects an edgy, high-contrast look that feels quite unexpected (and can look super cool!).
Here’s an example:

How to Use Flash Creatively
First of all, you can either use your on-camera flash or an external flash, like a speed light.
Next, don’t think of the flash as a way to “fix” the lighting, but as an artistic tool.
For example, try bouncing the flash off walls, ceilings, or even reflective objects like mirrors or foil.
This diffuses the light and produces unexpected reflections that can look quite mystical or ghostly.
Another fun method is adding colour:
Use so-called gel filters (heat-proof sheets of plastic used in film and photography), tinted cellophane, or even coloured tape placed over the flash.
You can try one colour or even combine two for a very cinematic look like in this photo:

Image Credit: Valentin Lacoste.
Finally, try combining flash with slow shutter speeds:
Leaving the shutter open longer creates motion blur, whereas the flash freezes your subject.
This is a technique often used in nightlife or event photography to capture energy, and can be really fun to experiment with.

Flash used in combination with slow shutter speed. Image Credit: Vlad Zaytsev.
If you want to learn more about creative photography techniques using flash, check out my previous post on the topic here.
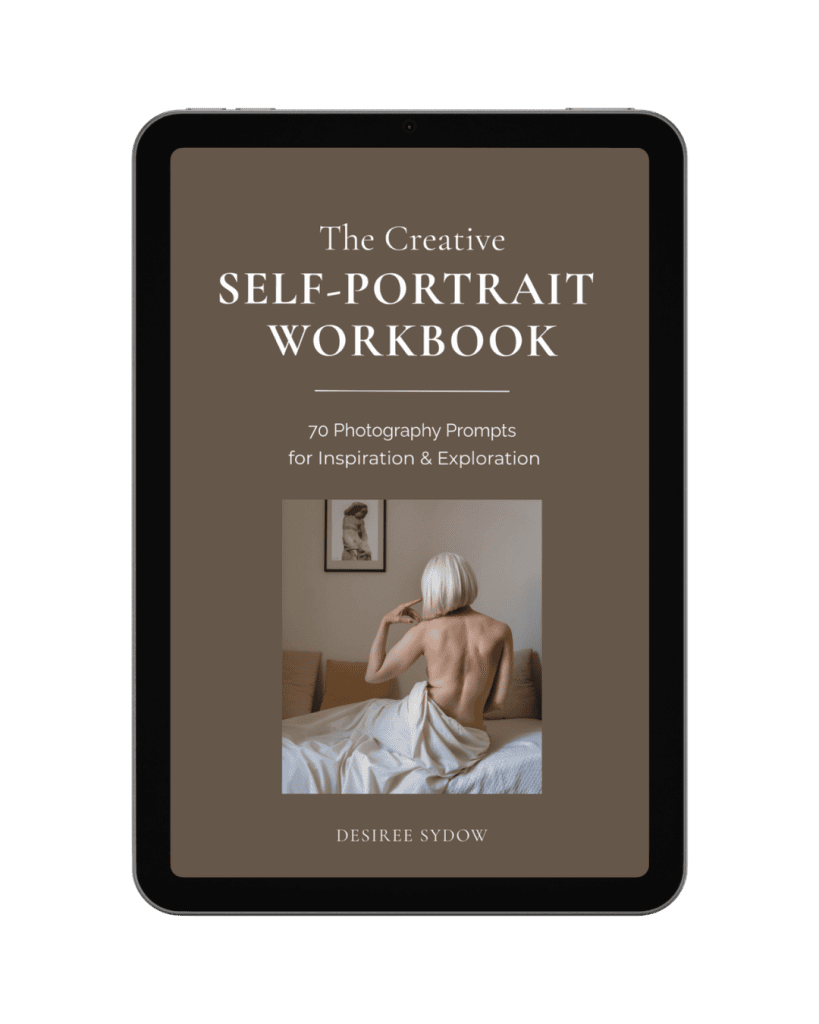
Before I get to the last section, I just wanted to let you know I have recently published my second book with 70 creative self-portrait photography ideas…check it out below:
Get Fresh Inspiration For Your Self-Portrait Photography
Discover new ways to approach self-portrait photography through creative prompts exploring symbolism, storytelling, painterly techniques, mixed media, and emotion.
…and now, onto the last photography technique!
5. Go Analogue
Finally, here’s one my favourite ways to escape a creative rut as a photographer: returning to film and analogue cameras.
In today’s digital world, everything is so pixel-perfect and ultra-sharp.
In contrast, film feels slower, imperfect, and beautifully unpredictable.
If you’re not sure where to start (or haven’t used film before), I recommend using instant cameras like Polaroids as an entry point.
There’s something so exciting about immediately holding a print in your hand minutes after shooting.
Also, Polaroids are never “perfect”; they may have slight colour shifts, soft focus, or uneven exposure, which makes each image unique:

Image Credit: Roland Deason.
Similarly, disposable cameras can really make photography fun again:
First of all, they have fixed lenses and limited controls, meaning you can’t really on fancy features.
And secondly, they’re analogue, so you can review your shots straight away like with a digital camera.
As a result, I’ve found that using a disposable camera can really help let go of perfectionism and just embrace the surprise element.
Or maybe you even have an actual film camera to play with–even better!
Have a look at your model to see whether it has a double exposure button (most do).
This is an amazing feature for creative experimentation:
It layers two images in the same frame, creating dreamlike compositions that are difficult to replicate digitally.
Here’s an example:

Image Credit: Oleg Ivanov.
Next, film also gives you the option to introduce light leaks, use expired film stock,or play with unusual processing methods, resulting in unpredictable textures and colours.
Even the constraints of having only 24 or 36 frames on a roll can push you to slow down and make each shot count.
I really love going back to analogue whenever I feel uninspired because it kind of shifts my mindest:
Film photography enforces me to have patience and trust in the process, which can be really freeing whenever I’m bored of those über-sharp digital photos.
Ironically, stepping back into older tools can sometimes be the best way to move forward creatively.
And that’s it for creative photography techniques that can help you overcome a creative block!
Let me know in the comments which of these techniques resonated the most with you 🙂